Small Gallery Wall Ideas for Narrow Walls and Tight Spaces
How to fit a gallery wall into a narrow wall or tight corner, with layouts by wall width, spacing, hanging heights and hanging tips.
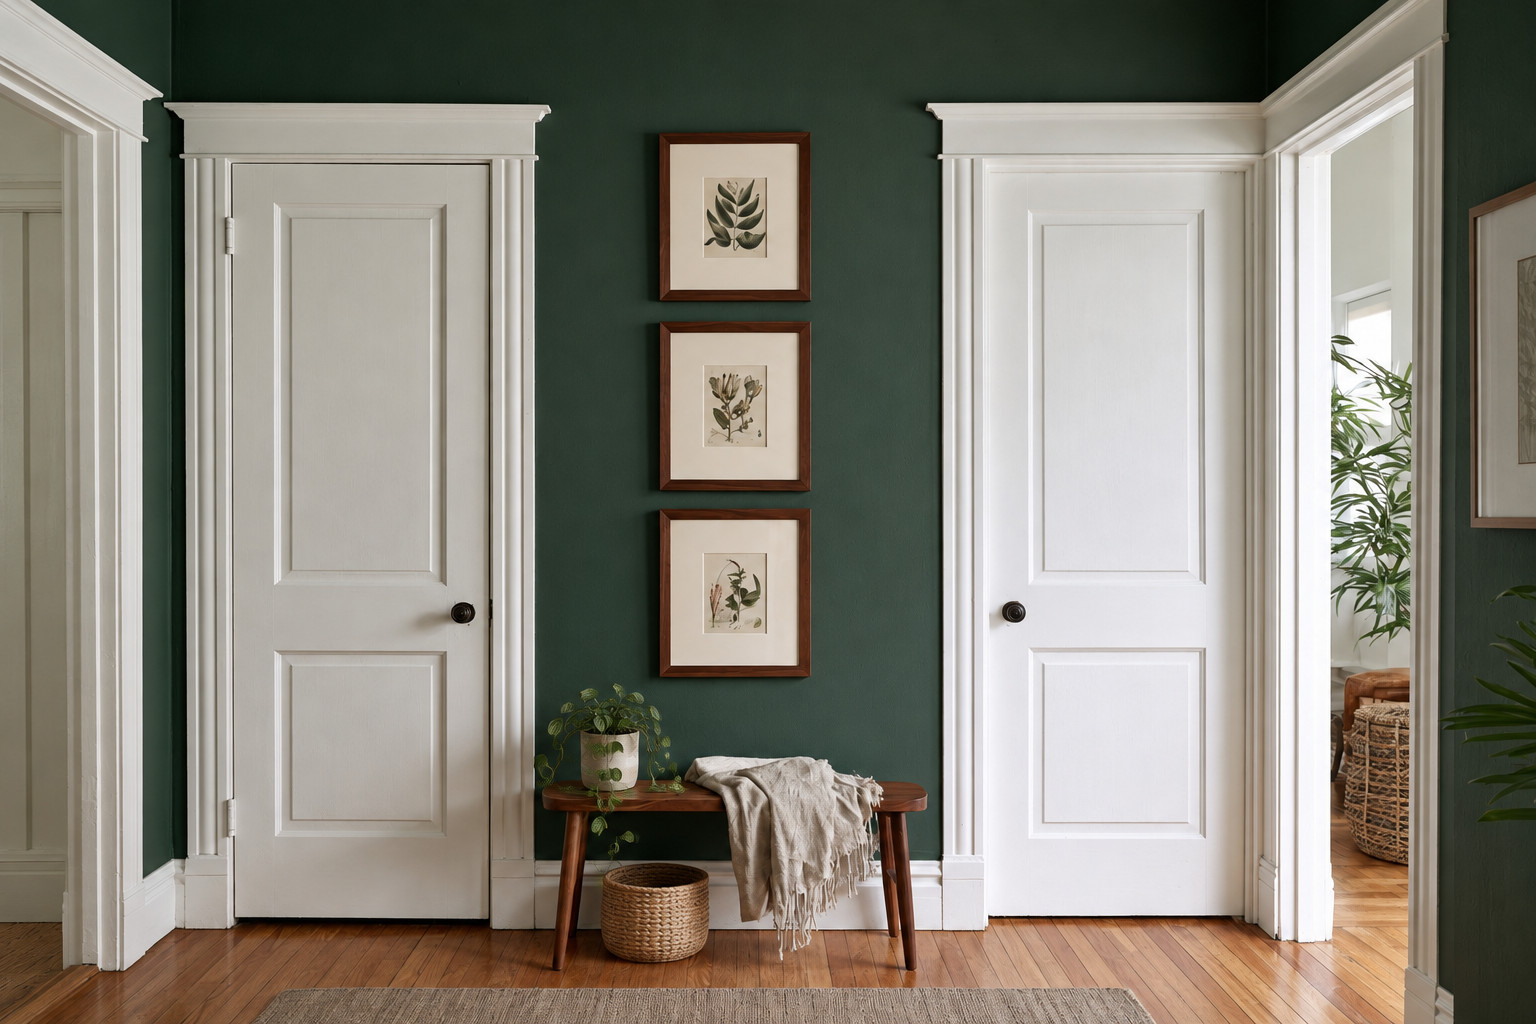
Gallery walls usually show up in photos as a huge spread of frames above a long sofa. Most homes do not have that wall. They have the strip between two doors, the side of a hallway, the bit of wall next to the fridge, the space above a narrow bench. Small gallery wall ideas work differently from big ones: fewer frames, tighter spacing and a clear shape, so the arrangement looks planned instead of squeezed in. Here is how to fit one into a narrow wall or a tight corner without it turning into clutter.
Quick answer: For a small or narrow wall, use 3 to 6 frames in a simple shape: a vertical column, a tight grid or a picture ledge. Keep 2 to 3 in (5 to 8 cm) between frames, repeat one frame color, center the group at 57 to 60 in (145 to 152 cm) from the floor, and leave at least 6 in (15 cm) of bare wall at each edge so the gallery does not touch door frames or corners.
In this article
- Match the layout to the wall you actually have
- 1. Stack a vertical column on a narrow strip
- 2. Use a tight grid for a calm, tidy look
- 3. Put a picture ledge in tight spaces
- 4. Frame a narrow piece of furniture
- 5. Wrap a gallery around a corner
- 6. Work around light switches and thermostats
- 7. Follow the stairs
- 8. Keep the art simple and the frames consistent
- How to hang a small gallery wall without extra holes
- Small gallery wall mistakes to avoid
- Frequently asked questions
- Pick one wall and three frames
Match the layout to the wall you actually have
Measure the wall width first, then pick a shape. Trying to force a sprawling salon-style layout onto a 2 ft strip is where most small galleries go wrong.
| Wall width | Layout that fits | Number of frames |
|---|---|---|
| 12 to 24 in (30 to 61 cm) | Single vertical column | 2 to 4 |
| 24 to 40 in (61 to 102 cm) | Two columns or a 2 × 2 grid | 4 to 6 |
| 40 to 60 in (102 to 152 cm) | 3 × 2 grid, picture ledge or loose cluster | 5 to 8 |
Whatever the width, leave about 6 in (15 cm) of empty wall on each side. A gallery that runs right up to a door frame or a corner looks cramped, even if every frame is lovely.
1. Stack a vertical column on a narrow strip
 Save
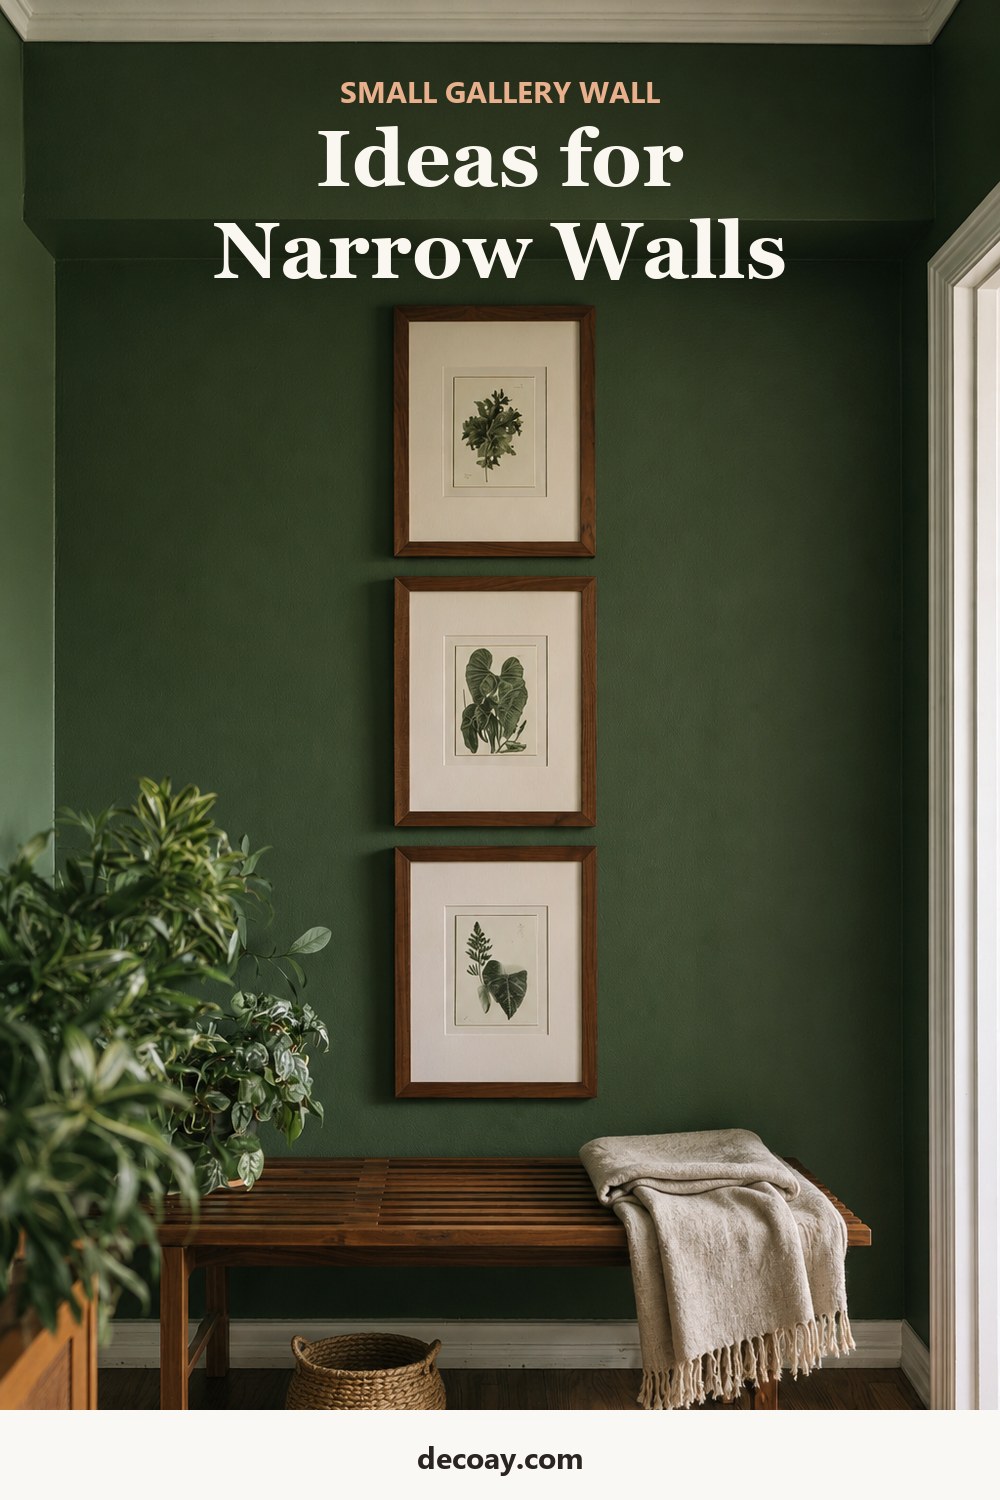
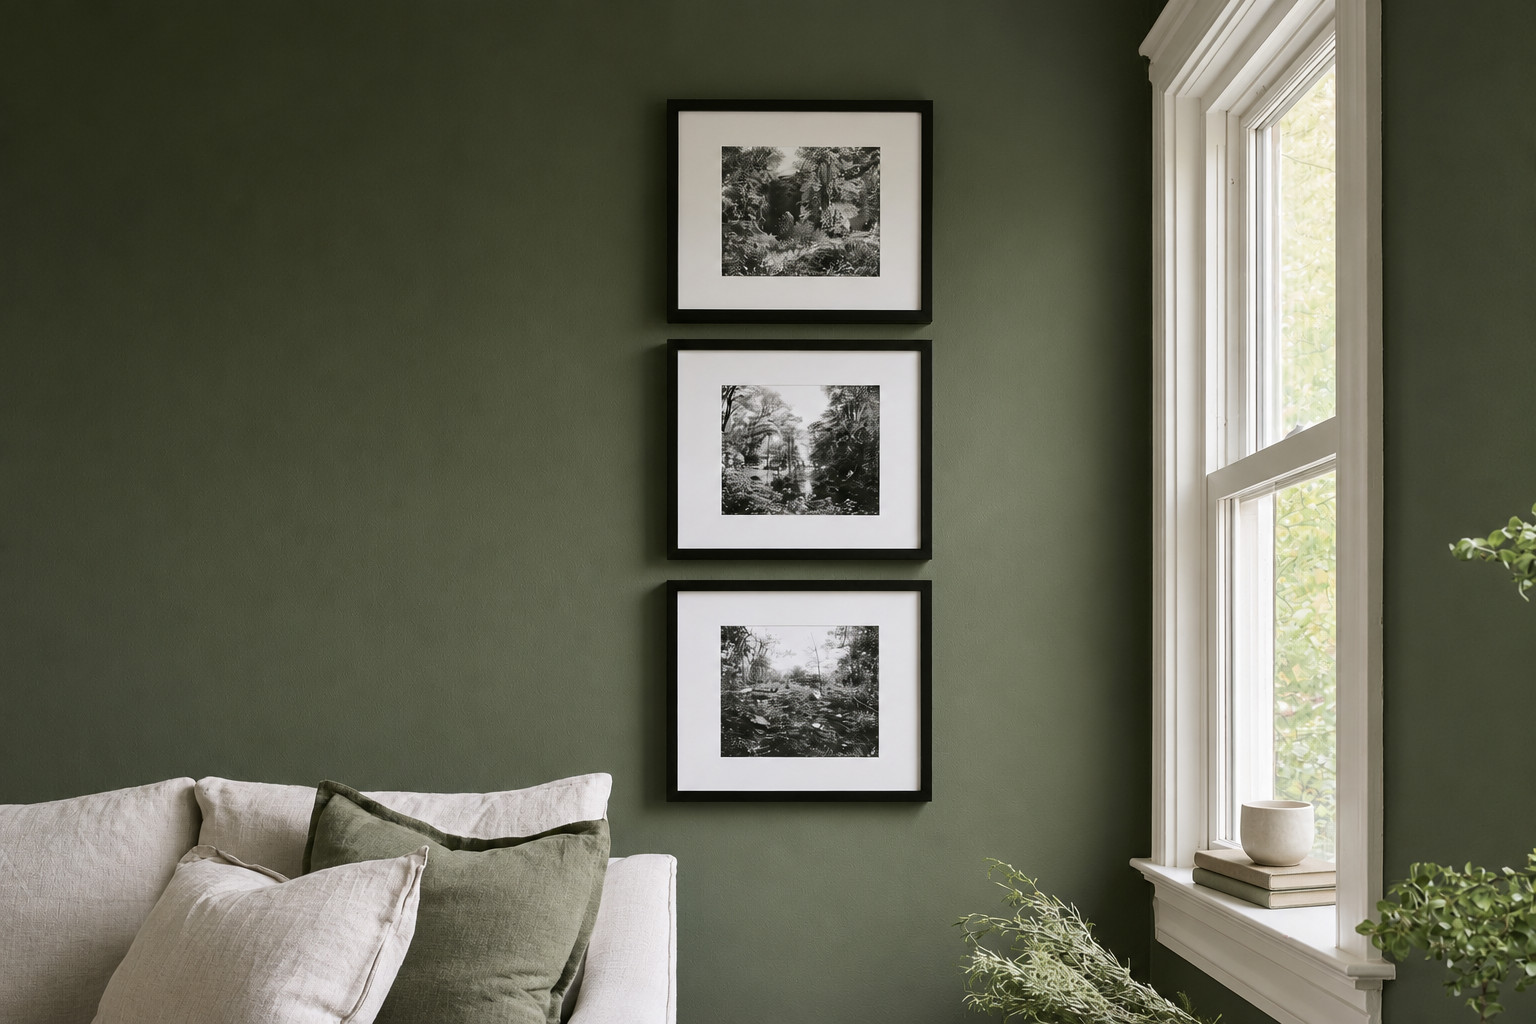
A strip of wall between two doors or beside a window is the classic awkward spot, and a column of frames is made for it. Stack three or four frames of the same width one above the other, with equal gaps, and center the whole column at eye level. It draws the eye up, which also makes a low room feel a little taller.
Use frames of the same width even if the heights vary. A column with mixed widths wobbles visually; one with matching widths looks deliberate.
2. Use a tight grid for a calm, tidy look
 Save
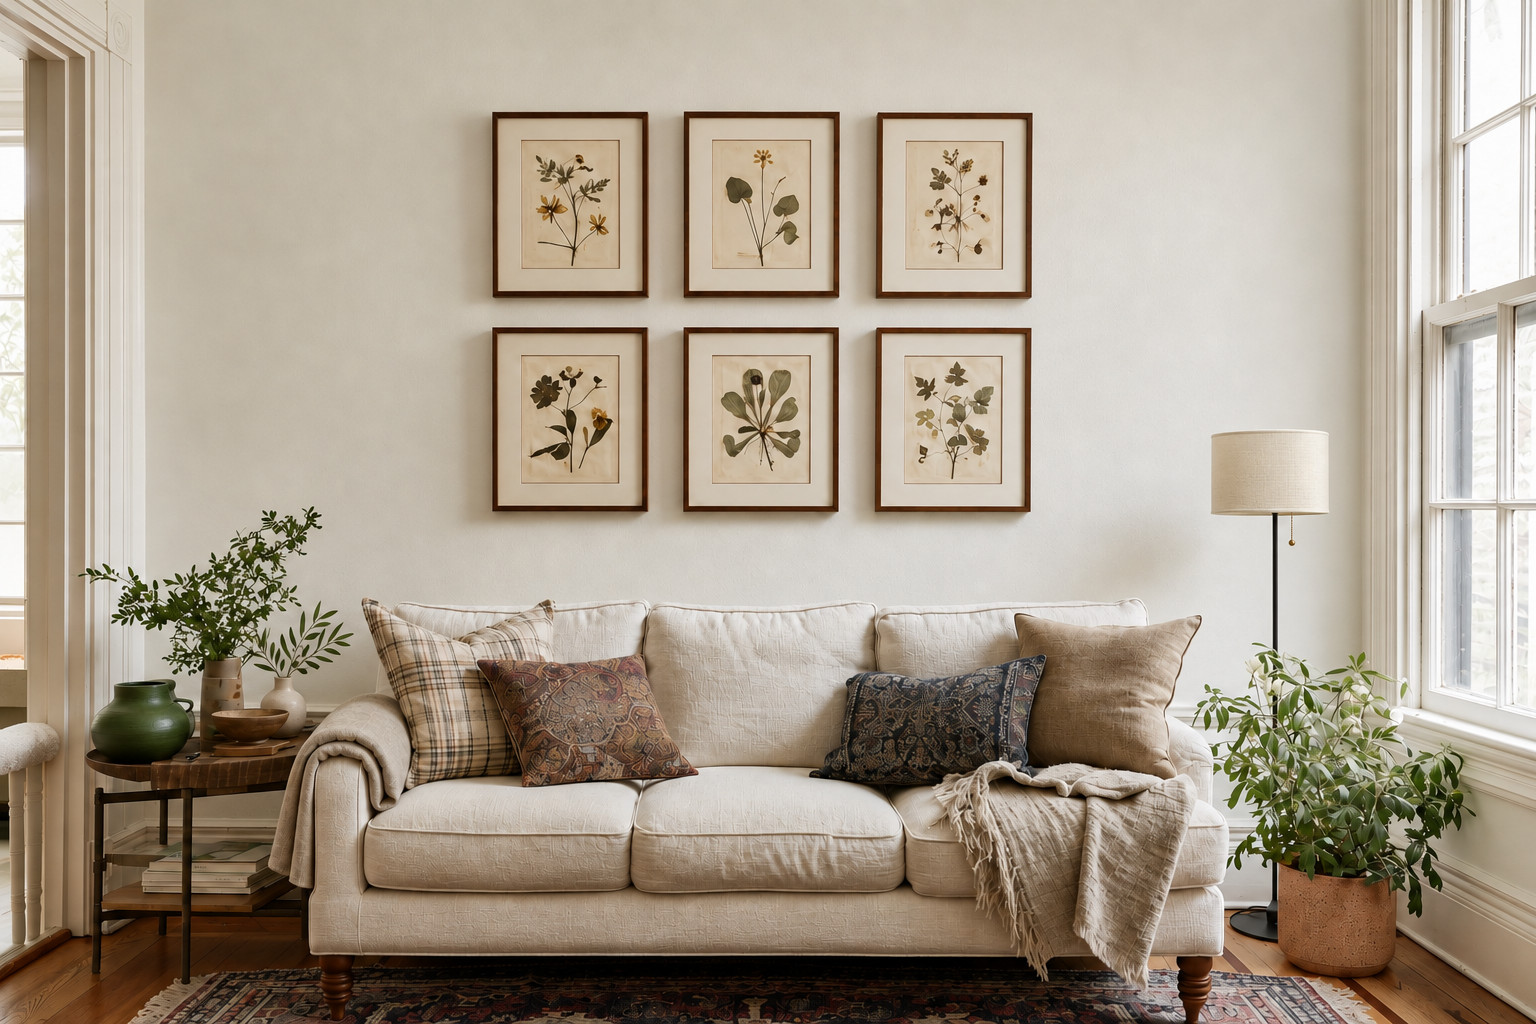
Four or six identical frames in a grid are the easiest small gallery to get right, and they suit modern and traditional rooms alike. The trick is precision. Every gap must be the same, usually 2 in (5 cm) for small frames, and every frame must be level. A grid that is slightly off looks far worse than a loose cluster.
Mark the outer rectangle of the grid on the wall with painter’s tape first, then measure each frame position from the tape. Sawtooth hangers make small adjustments easy. For larger frames, two D-rings per frame keep them from tilting.
3. Put a picture ledge in tight spaces
 Save
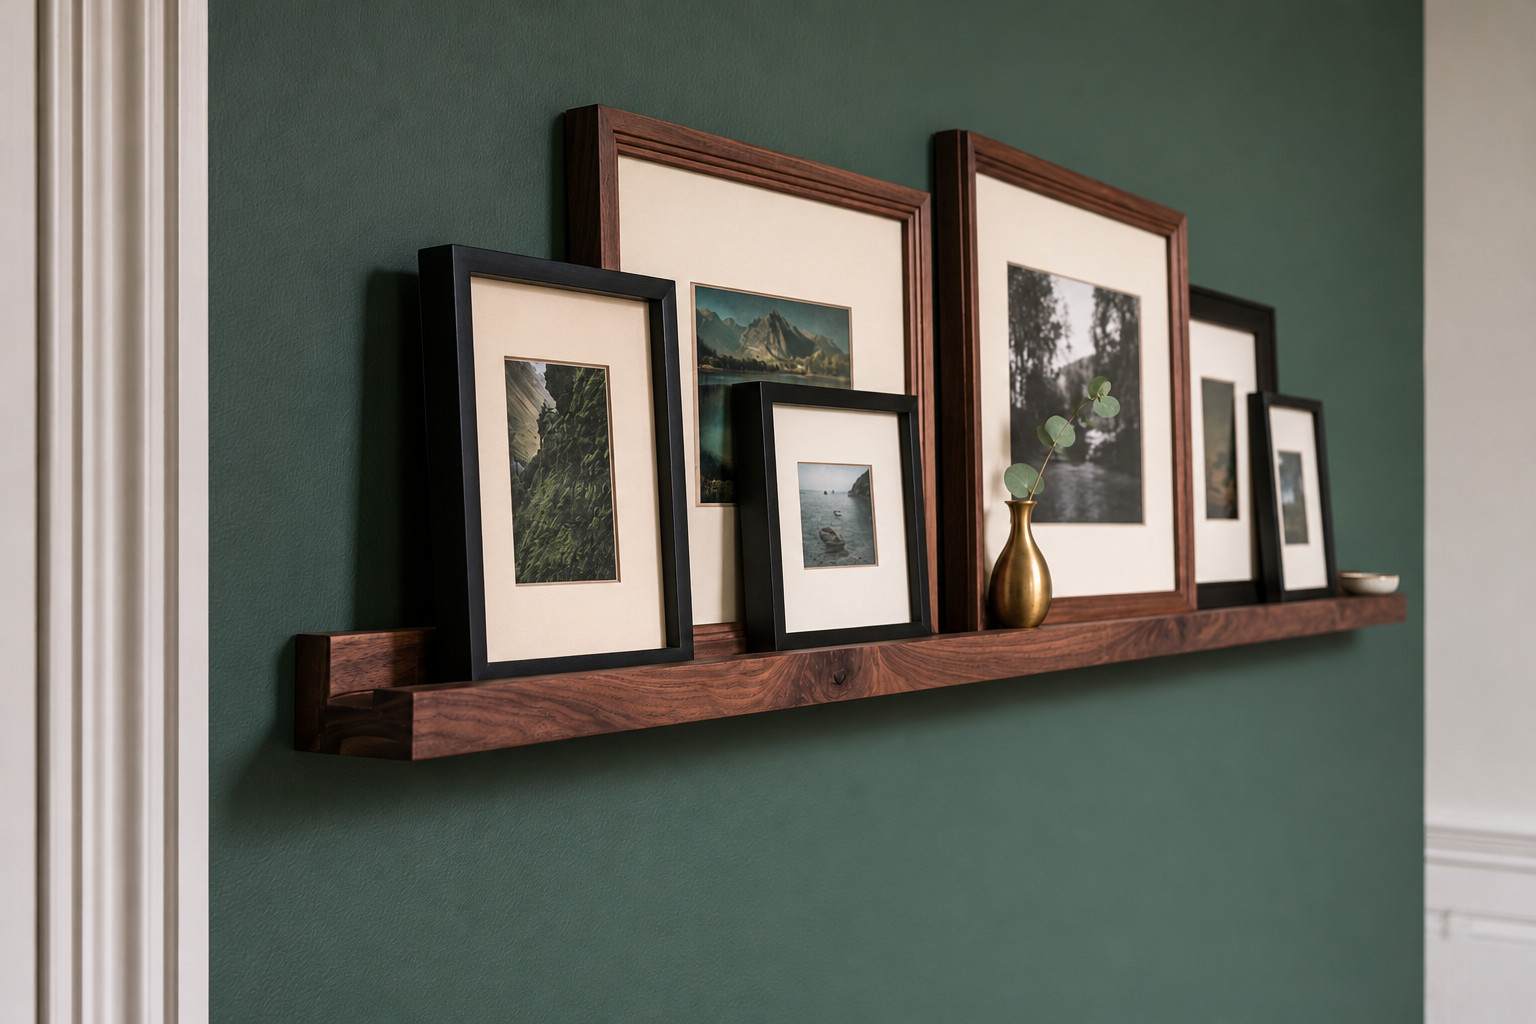
A single picture ledge, 24 to 48 in long, turns a small wall into a gallery with only a few screws. You lean the frames instead of hanging them, so you can overlap them, mix sizes and swap art whenever you like. In a narrow hallway, a ledge about 3.5 to 4 in deep stays out of the way of shoulders and bags.
Layer it from back to front: taller frames behind, smaller ones in front overlapping slightly, and one small object like a bud vase to break up the rectangles. We go into ledge heights in our guide on how to decorate a hallway wall.
4. Frame a narrow piece of furniture
 Save
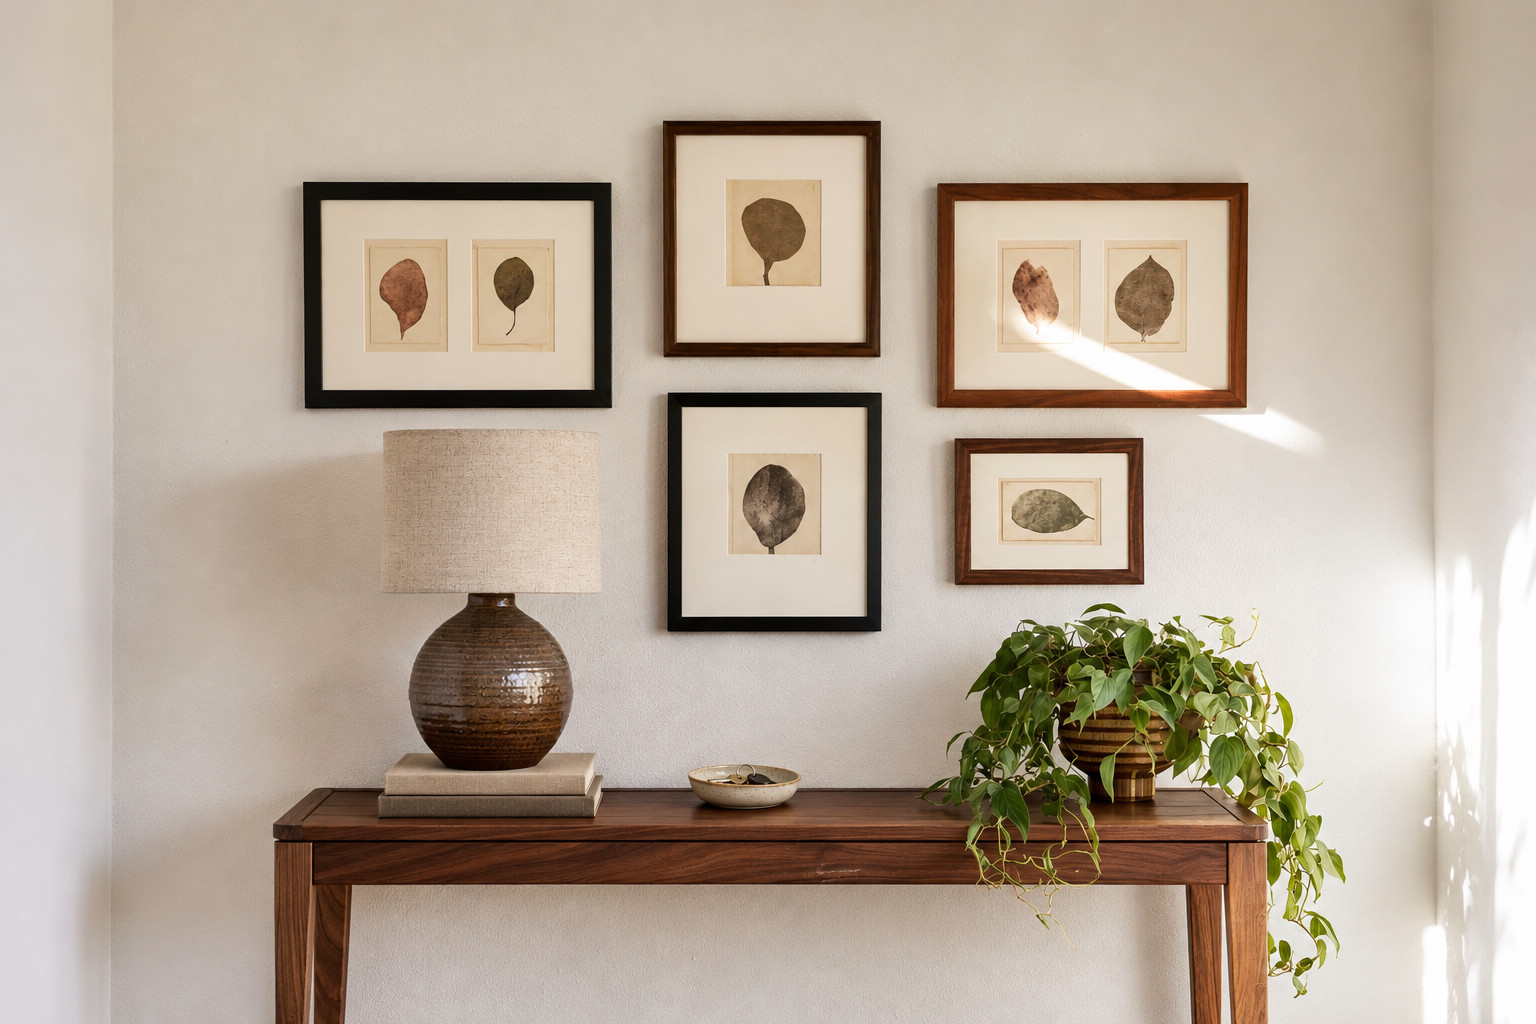
A small gallery looks most at home when it sits above something: a slim console, a bench, a narrow dresser or a bed. The furniture anchors the frames, and the frames make the furniture look intentional.
- Keep the gallery about two-thirds of the furniture’s width, never wider than the piece itself.
- Hang the lowest frame 6 to 10 in (15 to 25 cm) above the furniture top so the two read as one group.
- Leave room on the console for a lamp or a plant that overlaps the bottom of the gallery slightly.
5. Wrap a gallery around a corner
 Save
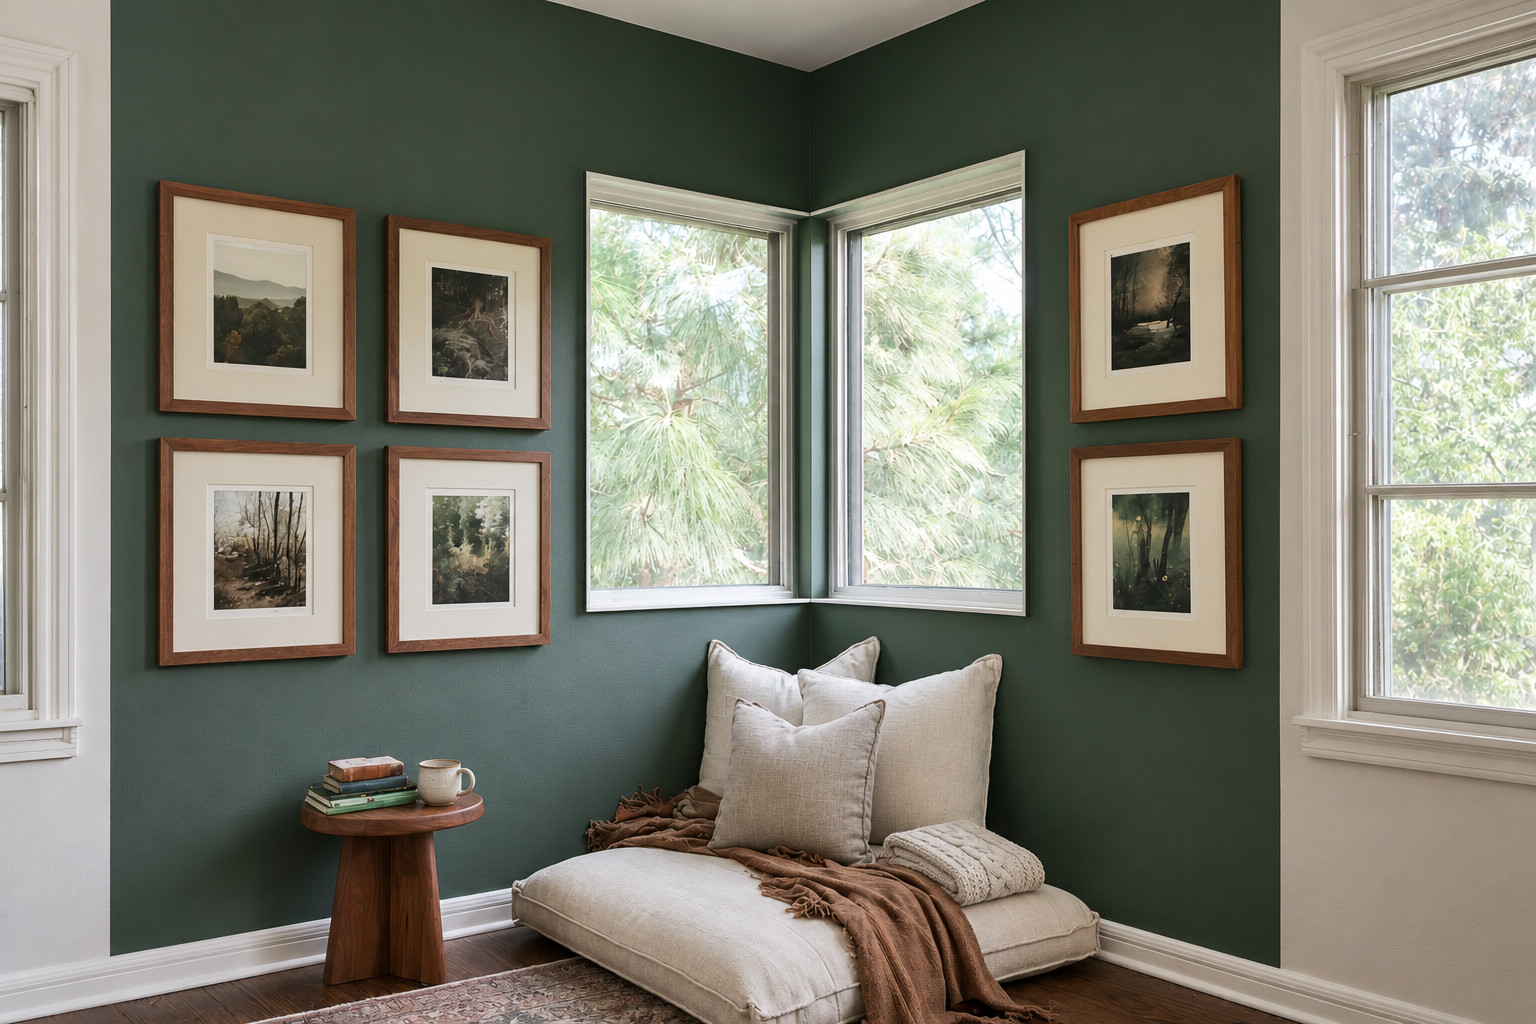
Corners are dead space in many small rooms. A gallery that continues around the corner, with two or three frames on each wall, uses that space and makes a reading chair spot or a small dining nook feel finished. Keep the same center line and the same gap on both walls, and start each side about 3 to 4 in (8 to 10 cm) from the corner so the frames do not crash into each other.
6. Work around light switches and thermostats
 Save
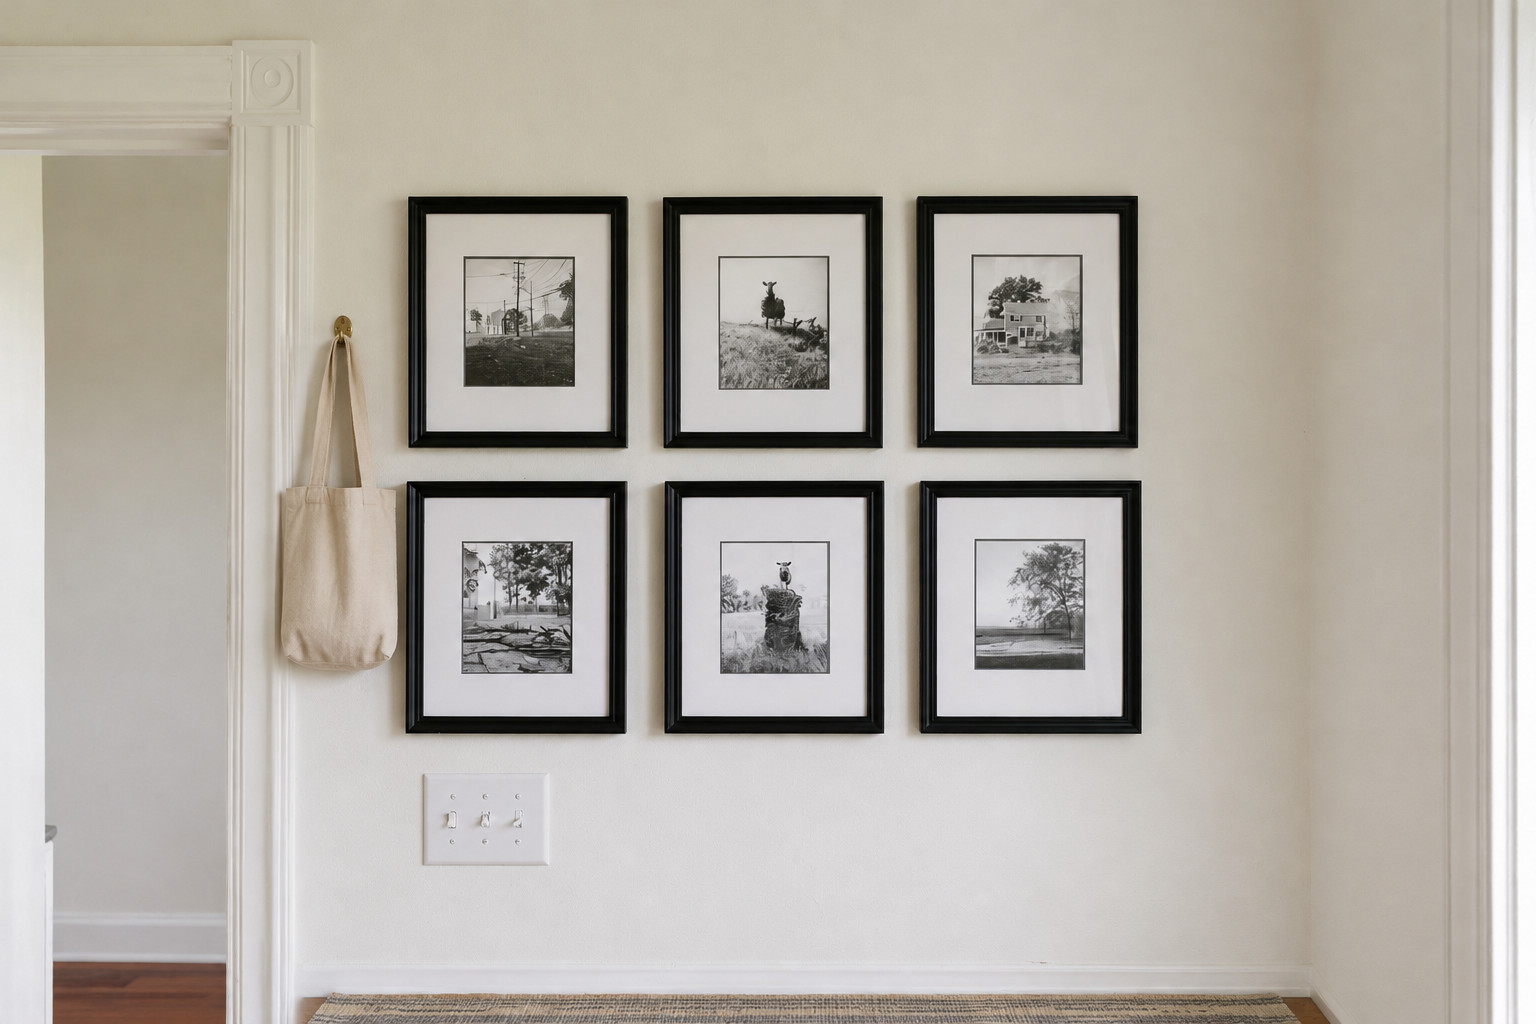
Small walls almost always have a switch, an outlet or a thermostat somewhere inconvenient. You have two options. Either treat it as part of the layout, lining up a frame edge with the switch plate so it looks like it belongs in the grid, or start the gallery above it. What does not work is hanging frames randomly around it, which makes the switch the first thing you see.
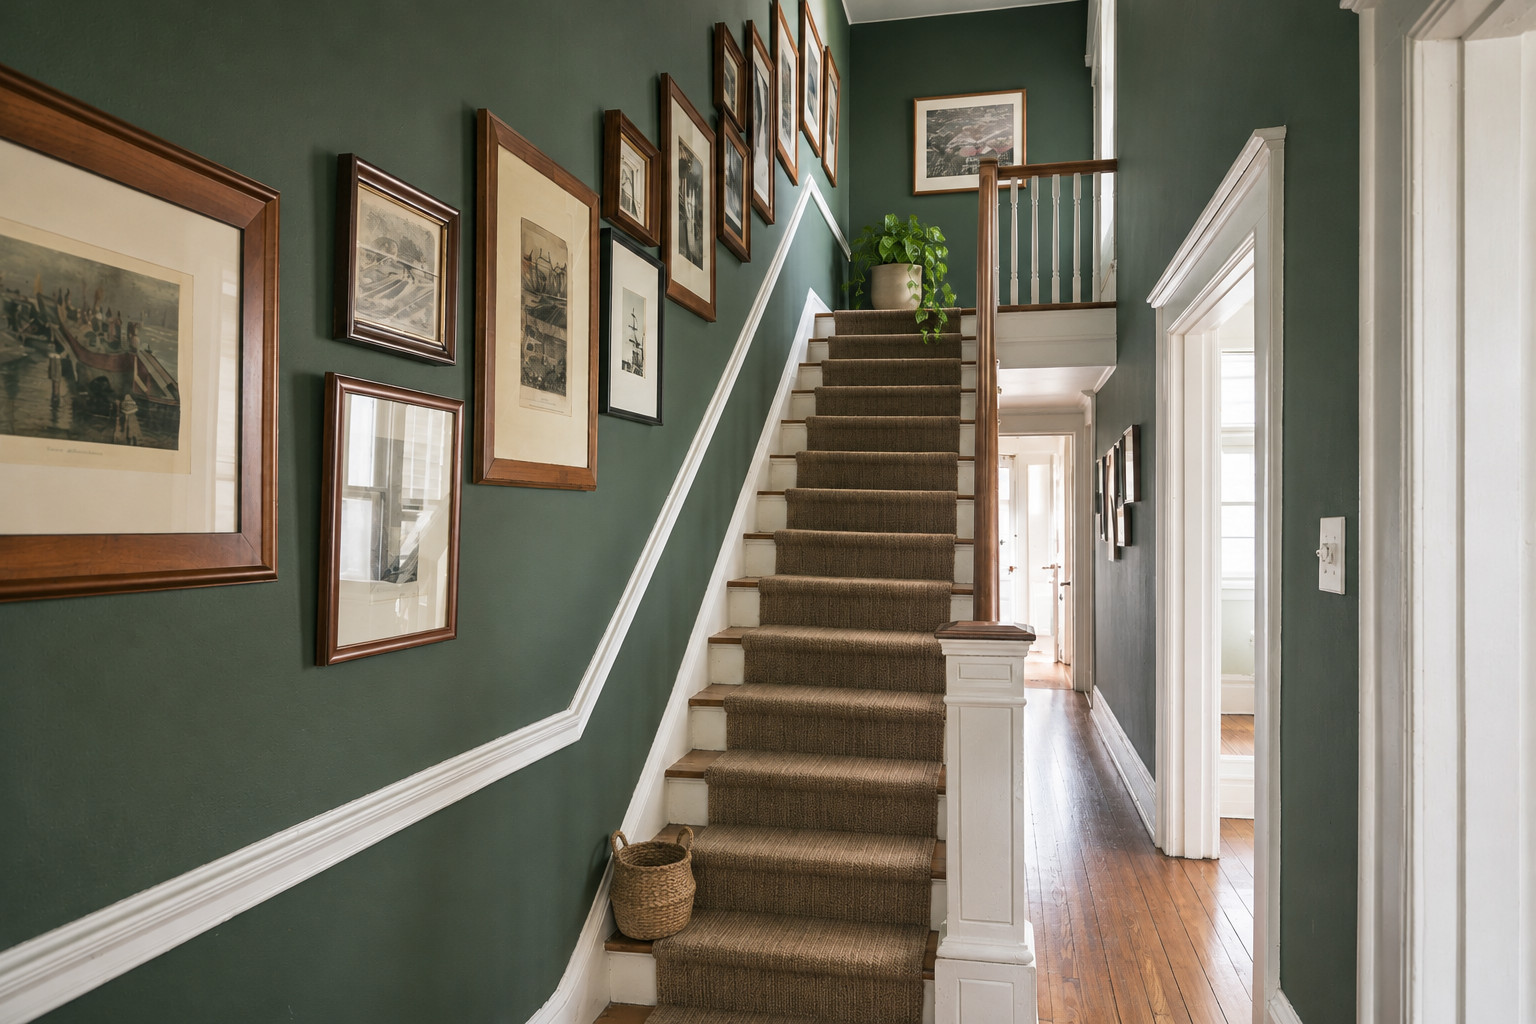
7. Follow the stairs
 Save
A staircase wall is often narrow and awkward, but it has height. A small gallery that climbs with the stairs makes good use of it. Hang each frame so its center sits about 57 to 60 in above the stair tread directly below it, and the whole group will follow the slope naturally.
On stairs, keep frames light, and secure them with two hooks each, since people brush past them. Avoid glass frames at child height on a busy staircase. Acrylic glazing is lighter and does not shatter.
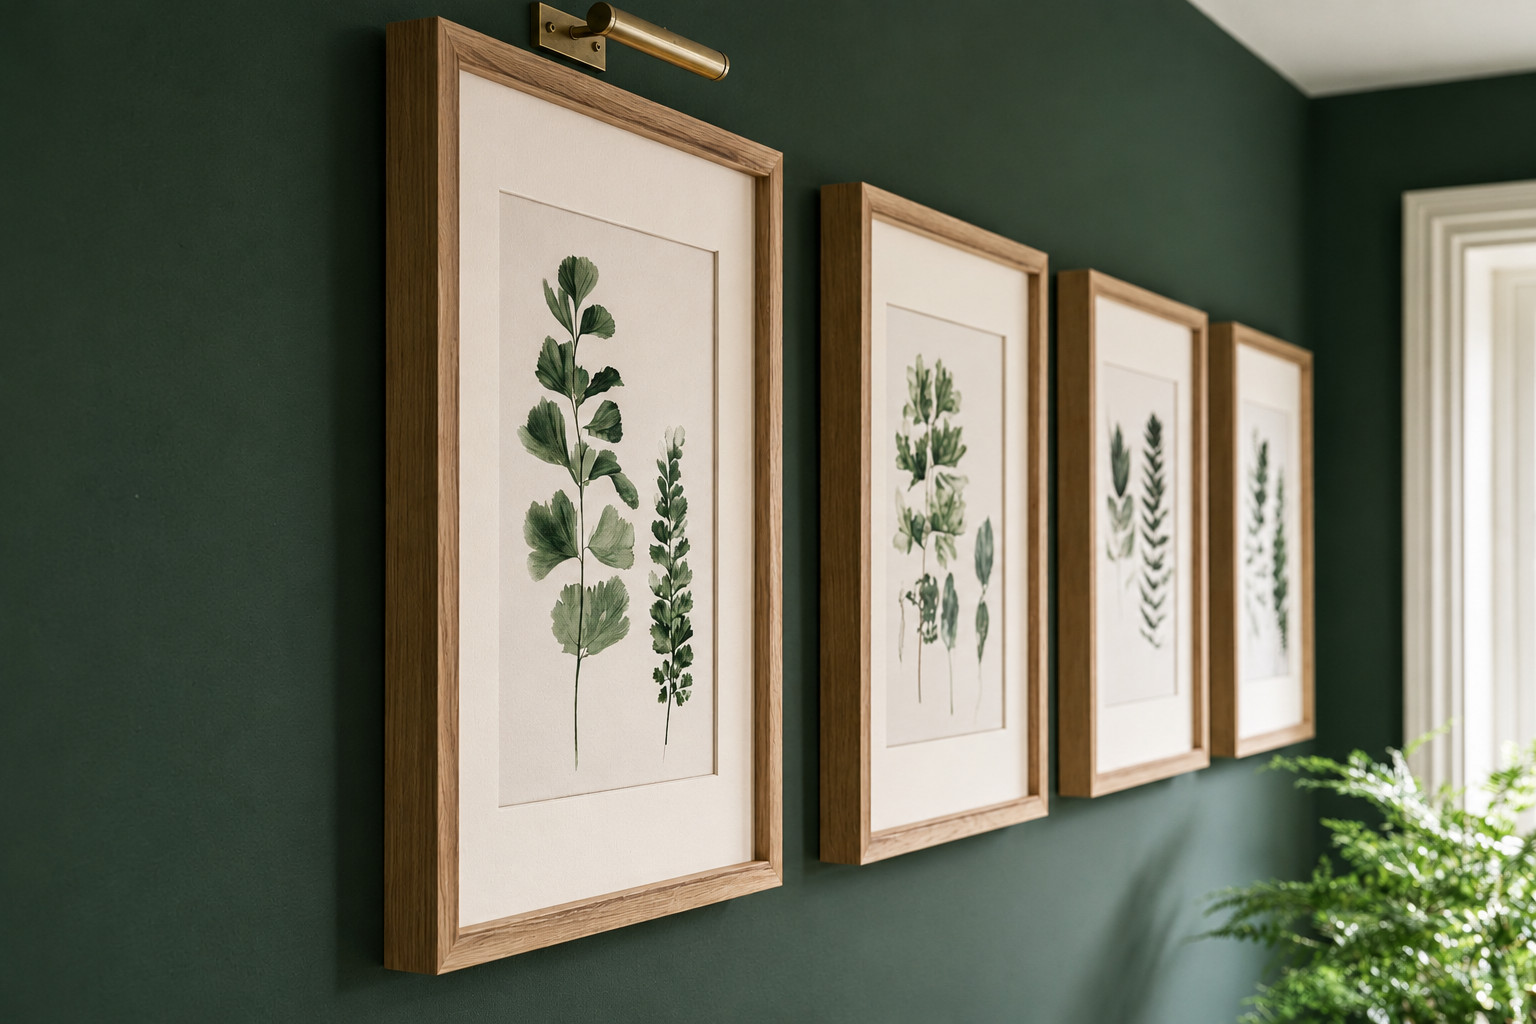
8. Keep the art simple and the frames consistent
 Save
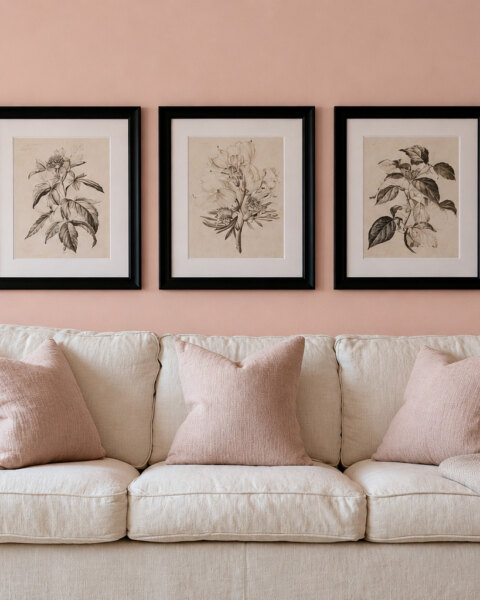
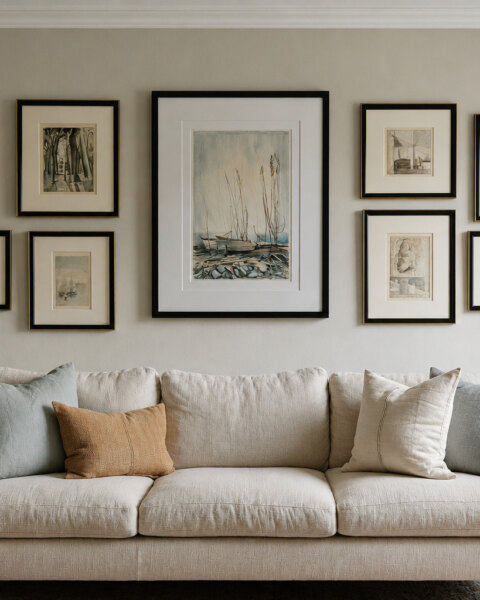
In a small space, the art itself can be the busy part, so the frames should be the calm part. Pick one frame color, such as black, walnut or natural oak, and use white or cream mats on everything. Mats make small prints look more valuable and add breathing room inside each frame.
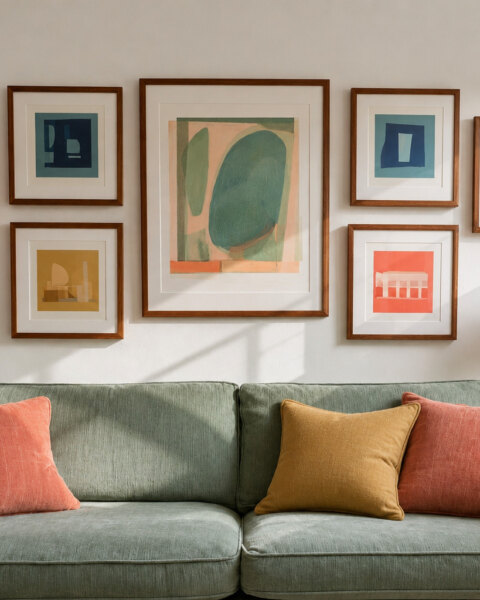
A loose theme helps too: all botanical prints, all black-and-white photographs, or one color that repeats across the pieces. Honestly, four related prints look better on a small wall than eight favorites that have nothing in common.
How to hang a small gallery wall without extra holes
- Lay the frames on the floor and arrange them until you like the shape.
- Trace each frame on kraft paper, cut out the templates and mark where the hanger sits on each one.
- Tape the templates to the wall and live with them for a day.
- Nail or screw through the hanger marks on the paper, then tear the paper away.
- Hang the frames and check each one with a small level.
In a rental, adhesive picture-hanging strips work for light frames. Check the weight rating on the package and stay well under it, and press the strips for the full time the instructions give.
Small gallery wall mistakes to avoid
- Too many tiny frames. On a small wall, five medium frames beat twelve tiny ones.
- Uneven gaps. The eye notices spacing before it notices the art. Keep every gap the same.
- Hanging too high. Center the group at 57 to 60 in, or 6 to 10 in above furniture.
- A gallery wider than the wall can hold. Leave at least 6 in of bare wall at each edge.
- Every frame a different color. Mixed frames can work in a big room; in a small one they look messy.
Want a bolder look? Our guide to a colorful gallery wall shows how to keep bright art cohesive.
Frequently asked questions
How many frames should a small gallery wall have?
Usually 3 to 6. A narrow strip of wall suits a column of 2 to 4 frames, and a wall about 3 to 5 ft wide fits a grid or ledge with 4 to 8 frames.
How far apart should gallery wall frames be?
About 2 to 3 in (5 to 8 cm). Smaller frames look best with 2 in gaps, larger ones with 3 in. The most important thing is that every gap is the same.
How high should a small gallery wall be hung?
Center the whole group about 57 to 60 in from the floor. Above furniture, hang the lowest frame 6 to 10 in above the top of the piece.
Can you do a gallery wall in a narrow hallway?
Yes. Use flat frames or a shallow picture ledge, keep everything within about 4 in of the wall and run the gallery along one center line.
Should all frames match in a small gallery wall?
In a small space it helps. One frame color with matching mats makes mixed art look like a set.
Pick one wall and three frames
Start smaller than you think. Choose the awkward strip of wall you walk past every day, three frames of the same width and one center line. Hang them as a column, live with it for a week and add a fourth only if the wall still feels empty. Our guide to gallery wall sizes has a full frame size and spacing chart. For more layouts, browse our gallery wall ideas, or see our small living room wall decor guide for ways to make a whole room feel taller.