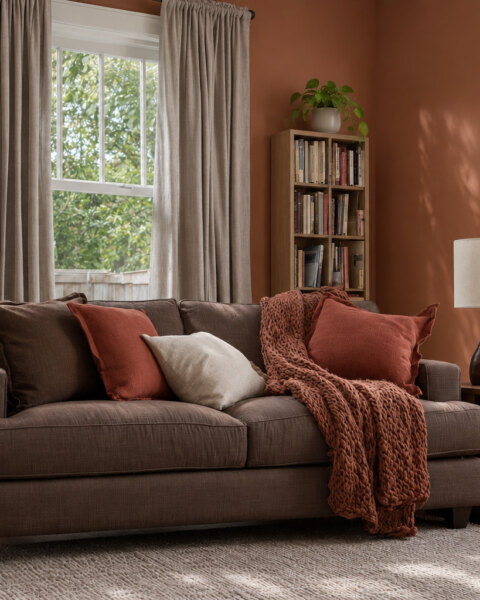
Color Drench Dining Room Ideas (and How to Do It Right)
8 color drench dining room ideas, the right finish for walls, trim and ceiling, a paint calculator and a weekend painting plan.
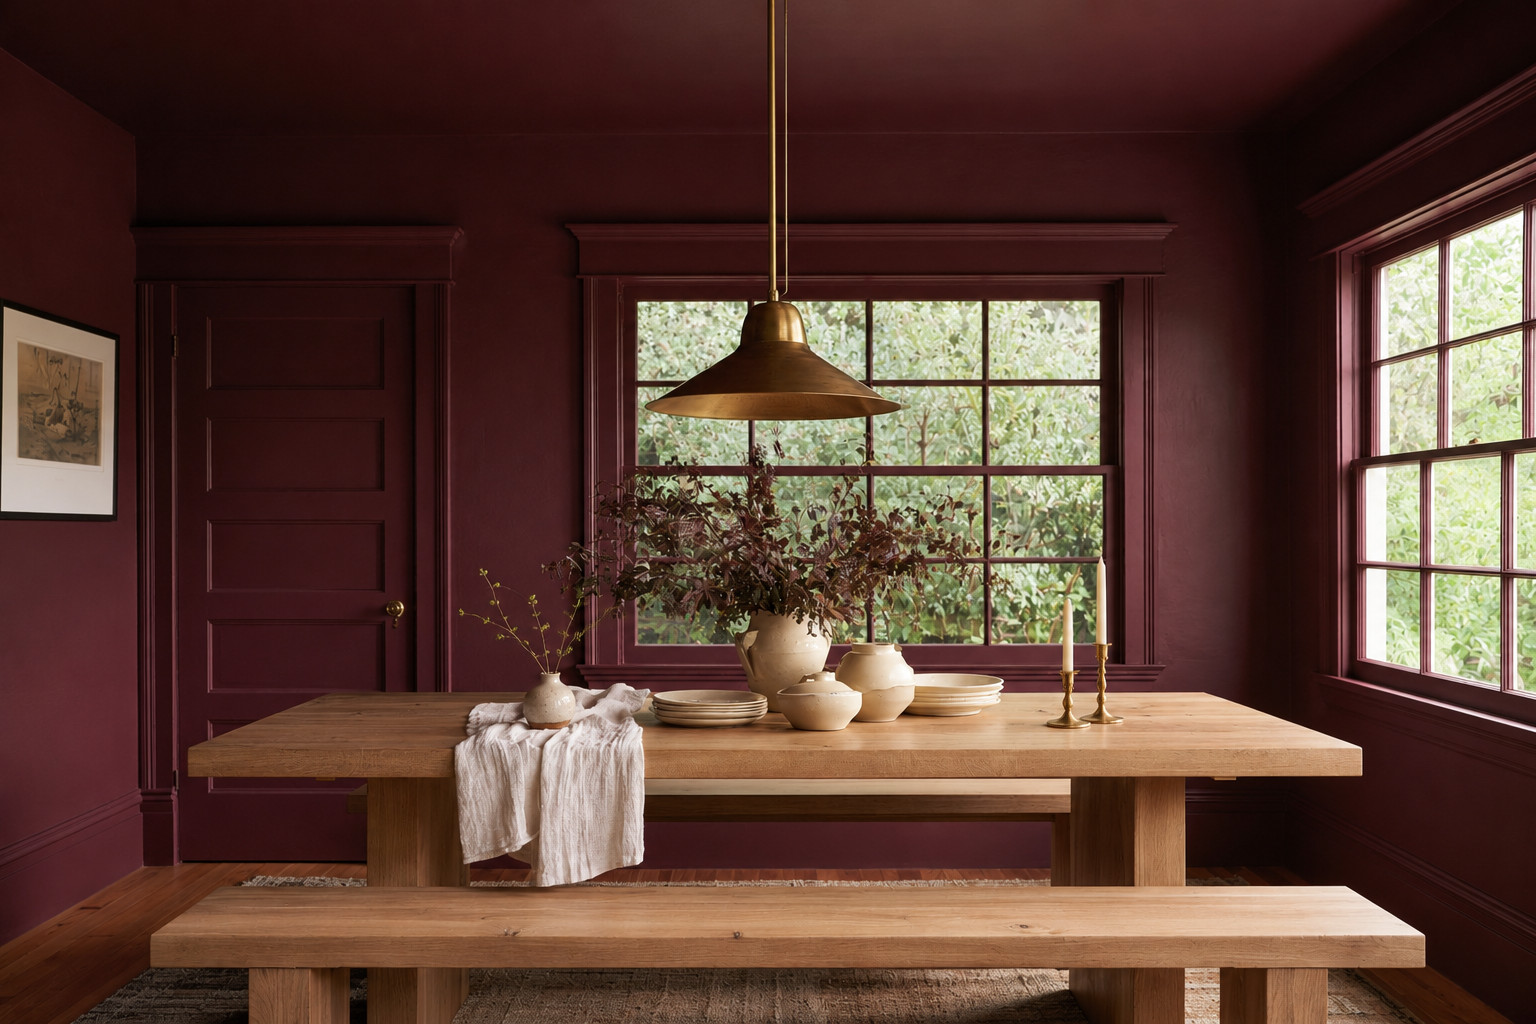
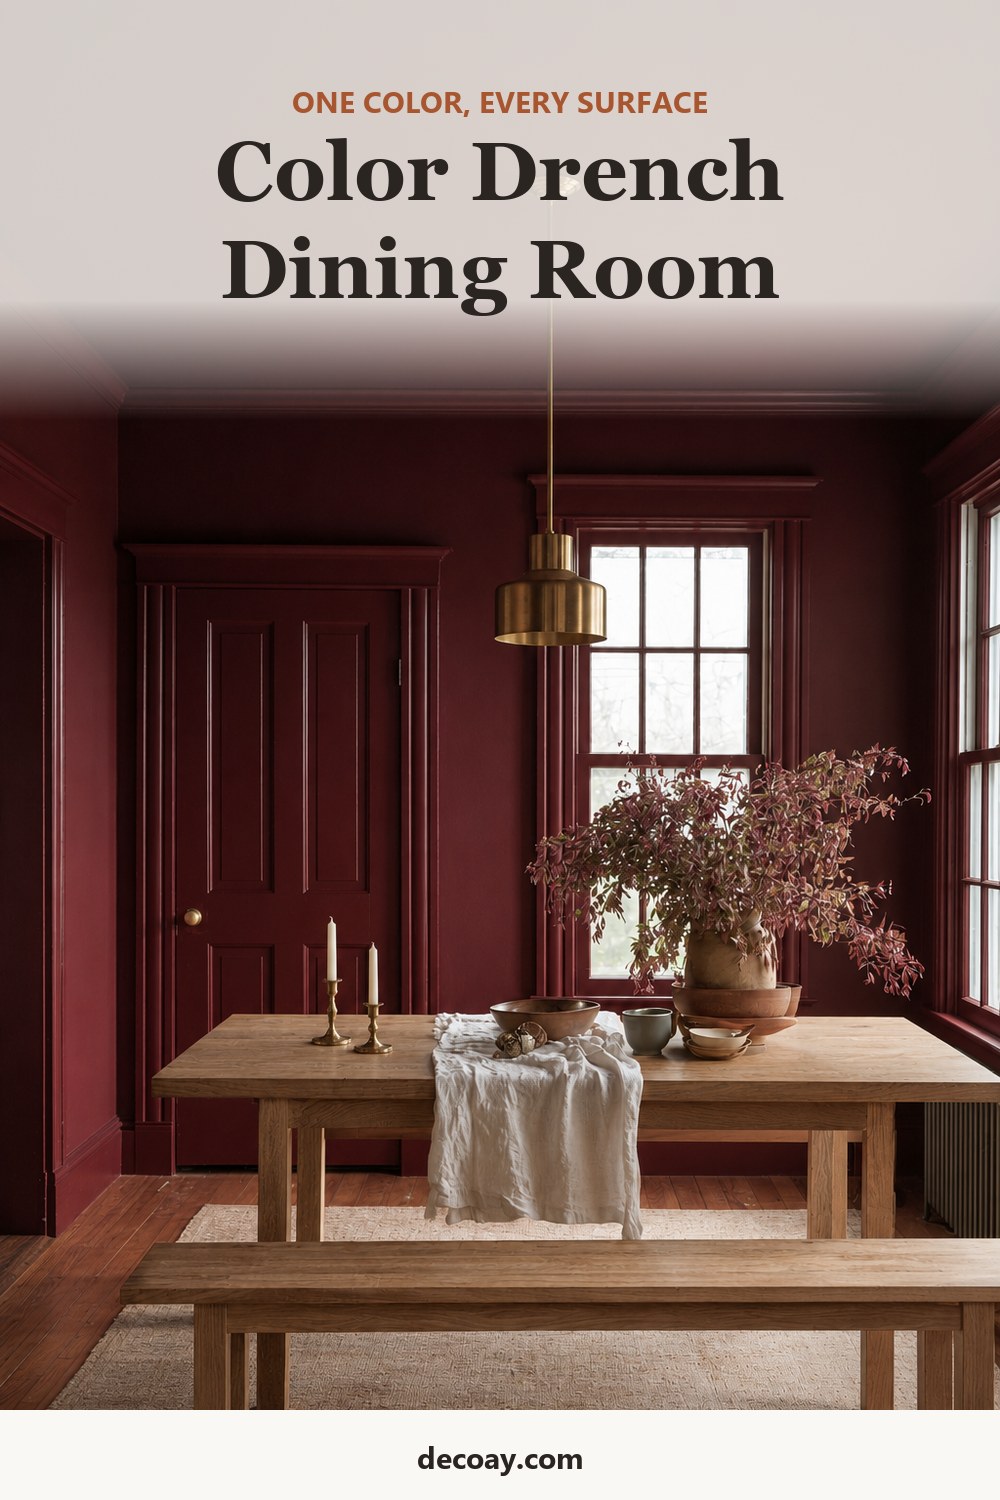
Color drenching means painting a room in one color from top to bottom: walls, trim, doors, window frames and often the ceiling too. Instead of a colored wall with white edges, you get a room that feels wrapped in color. A dining room is the best place to try it. You spend a couple of hours there in the evening, usually by low light, and a deep color makes the space feel intimate rather than dark. These color drench dining room ideas cover the colors that work, the finishes to use on each surface and how to paint it yourself in a weekend.
Quick answer: To color drench a dining room, paint the walls, trim, doors and ceiling in the same color, or in two or three shades of it. Use a matte or eggshell finish on walls, flat on the ceiling and satin or semi-gloss on trim and doors so they still wipe clean. Deep colors such as burgundy, olive, terracotta and navy work best, balanced with wood, brass and white table linen. Paint the ceiling first, then the walls, then trim and doors.
In this article
- Finishes for each surface
- 1. Burgundy for a moody dining room
- 2. Deep olive green
- 3. Terracotta and clay
- 4. Navy and ink blue
- 5. A tonal drench in two or three shades
- 6. Drench just the dining nook
- 7. A light color drench for a small, dark room
- 8. Balance the color with wood, brass and white
- How to color drench a dining room
- How much paint you need
- Lighting a drenched dining room
- Color drench mistakes
- Frequently asked questions
- Live with a sample first
Finishes for each surface
The color stays the same everywhere, but the sheen changes. That small difference in shine is what keeps a drenched room from looking flat.
| Surface | Finish | Why |
|---|---|---|
| Ceiling | Flat | Hides roller marks and bumps overhead |
| Walls | Matte or eggshell | Soft, deep color; eggshell wipes cleaner |
| Trim and baseboards | Satin or semi-gloss | Takes knocks from shoes and vacuums |
| Doors and window frames | Satin or semi-gloss | Handled every day, needs to be washable |
1. Burgundy for a moody dining room
 Save
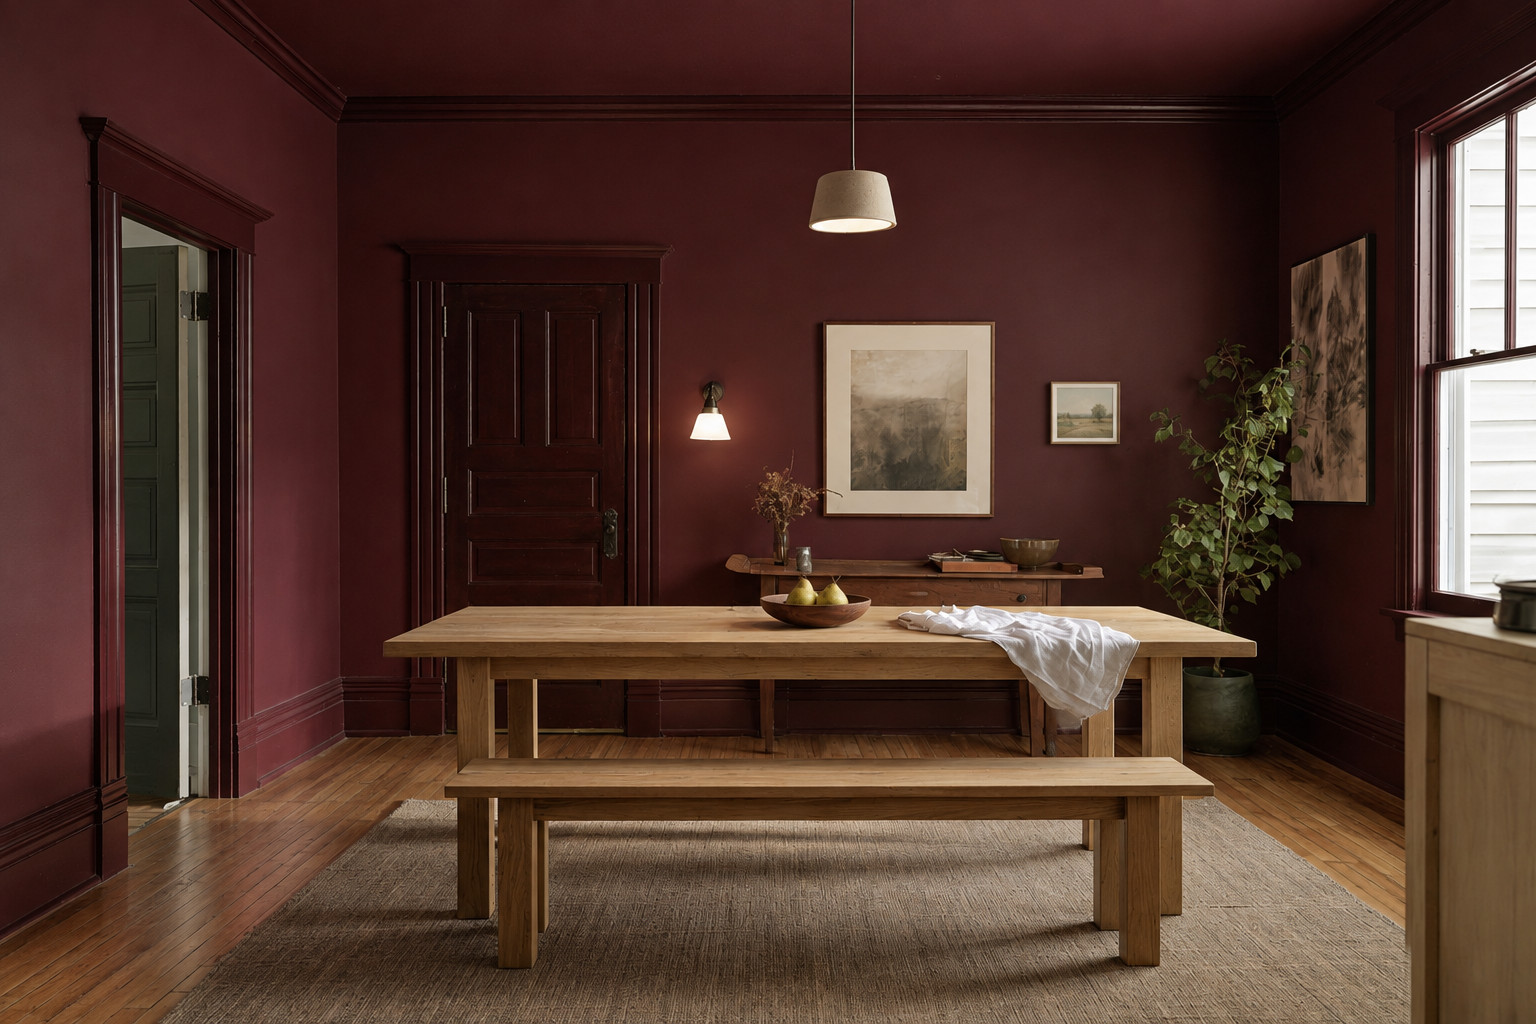
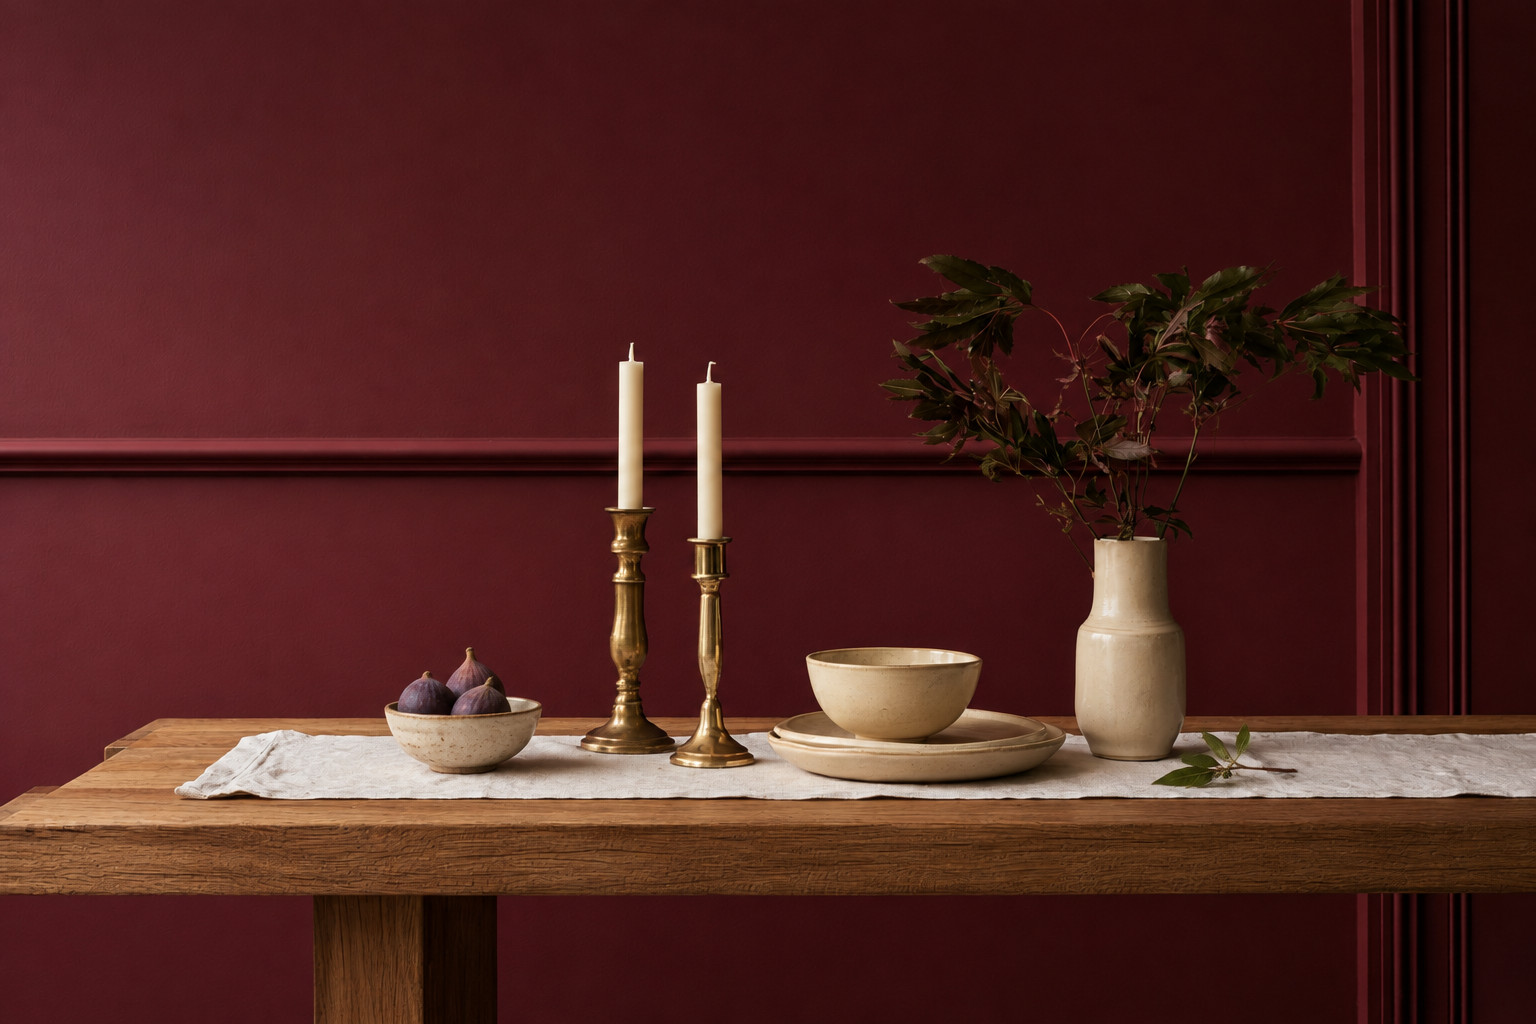
Burgundy and oxblood are the classic drench colors right now, and for good reason. In daylight they read as a warm red-brown; by candlelight they turn almost velvet. Pair them with a light oak table, white linen and brass. Honestly, this is the color to try if you are only going to drench one room.
2. Deep olive green
 Save
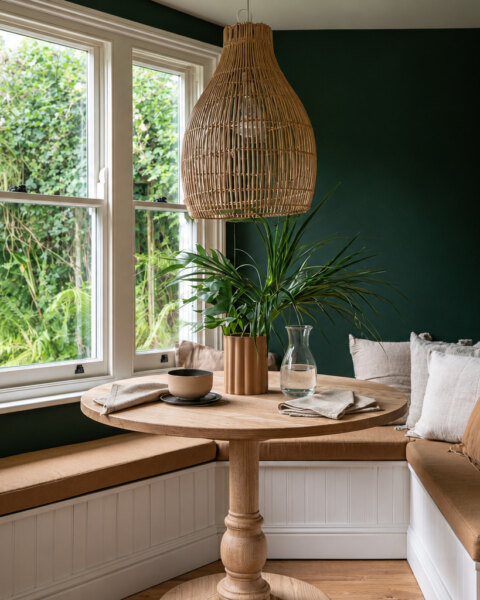
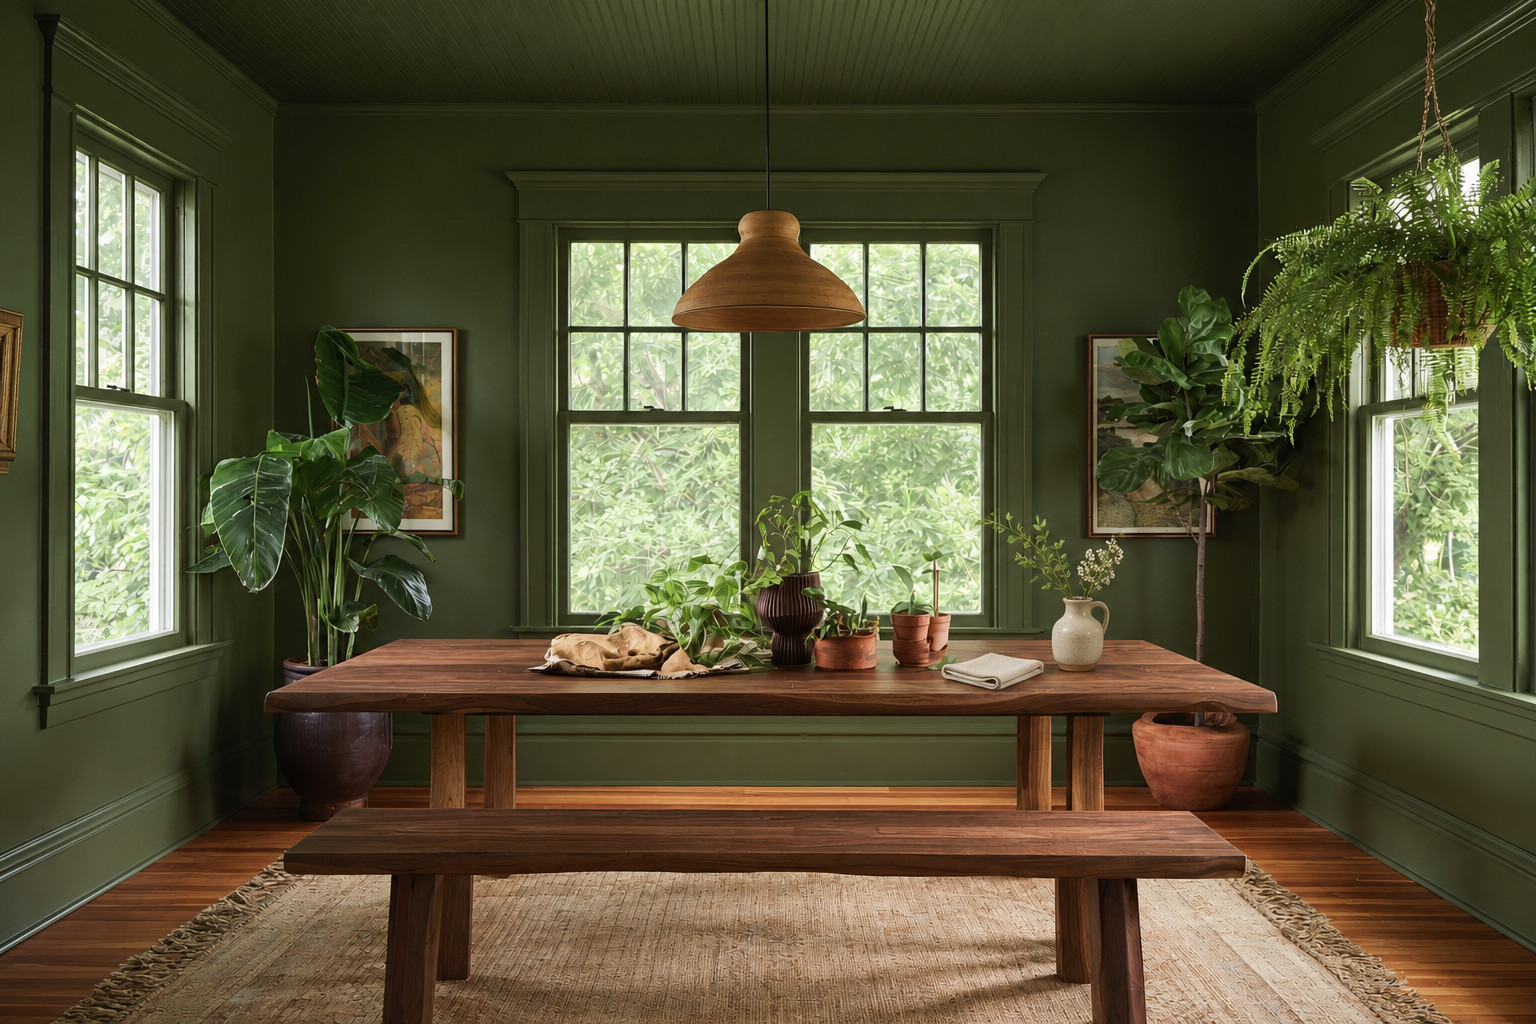
Olive is the easiest deep color to live with. It works with almost every wood tone, sits well next to a white kitchen and looks good with plants on the table. Choose an olive with a little brown in it rather than a bright grass green, which can look sharp at night.
3. Terracotta and clay
 Save
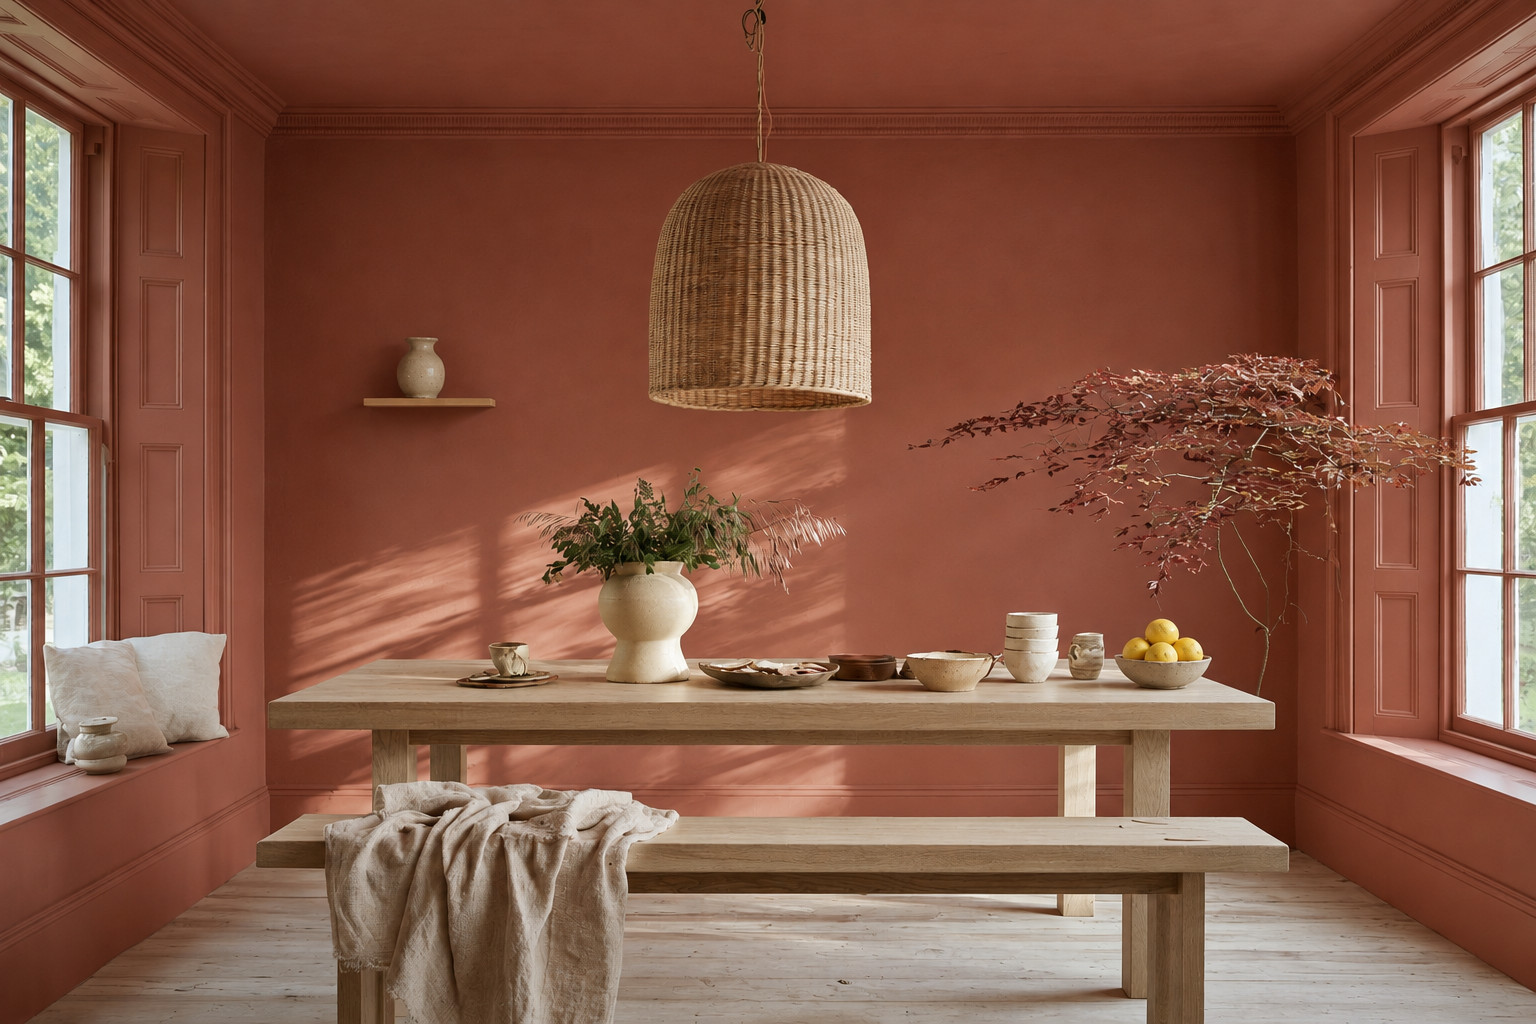
Terracotta gives a dining room a sunny, Mediterranean warmth, even in a room with one small window. It pairs well with rattan, natural linen and cream ceramics. Because terracotta is a mid-tone rather than a very dark color, it suits people who want a drenched room that still feels light during the day.
4. Navy and ink blue
 Save
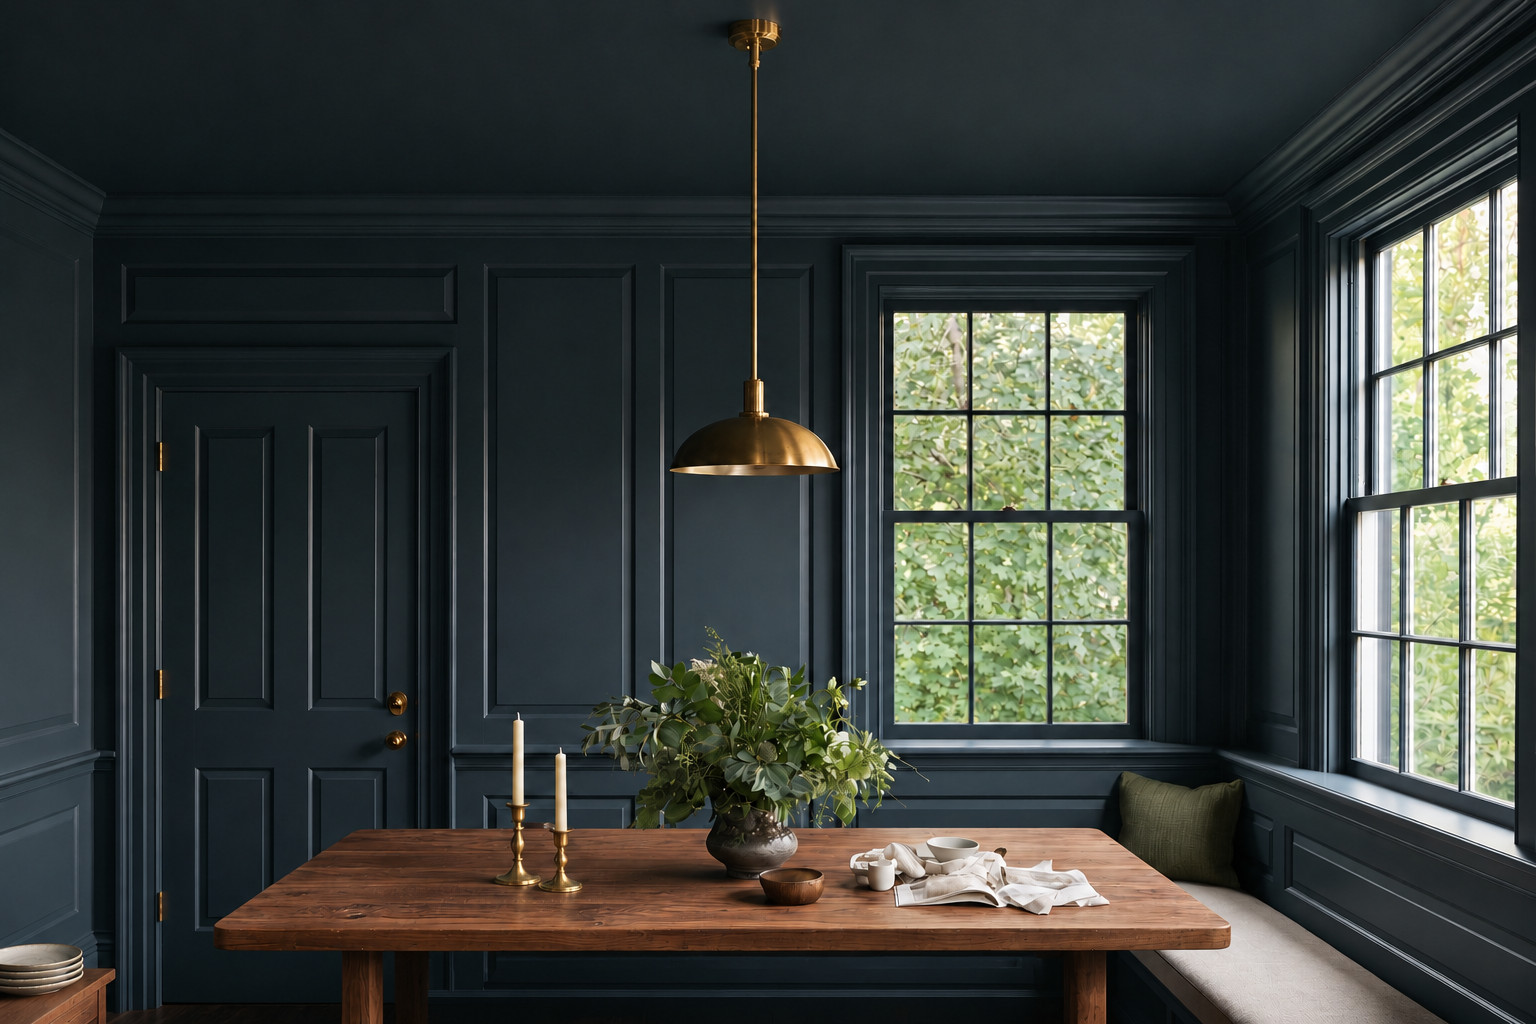
Navy feels tailored and calm. A drenched navy dining room with a warm walnut table and a brass pendant has a slightly formal, library-like mood. Choose a navy with a hint of green or gray, which looks richer under warm bulbs than a pure, bright blue.
5. A tonal drench in two or three shades
 Save
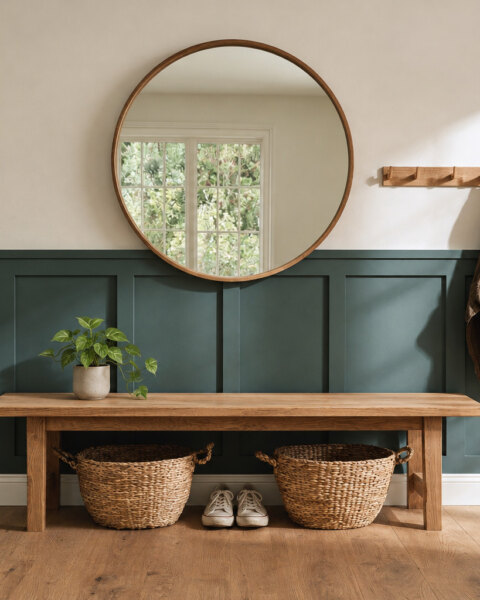
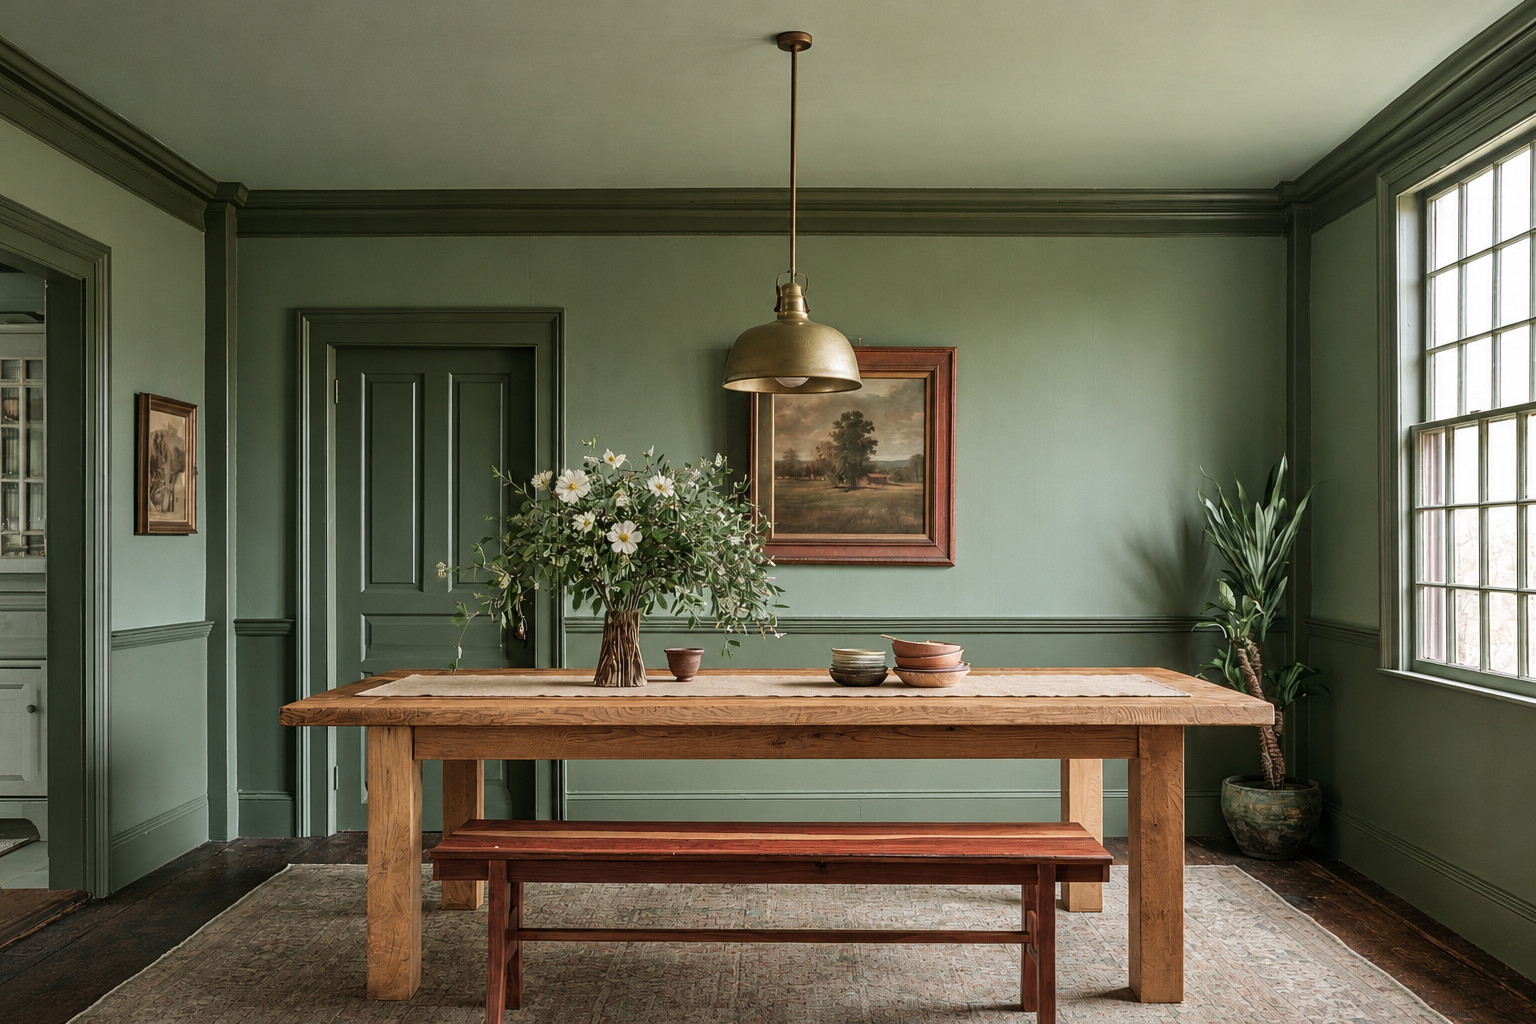
A tonal drench uses the same color family in different strengths: for example, a mid green on the walls, one shade darker on the trim and the lightest shade on the ceiling. It is a softer way into the trend and adds depth without any contrast. Most paint brands show lighter and darker versions of a color on the same strip, which makes it easy to pick three shades that belong together.
6. Drench just the dining nook
 Save
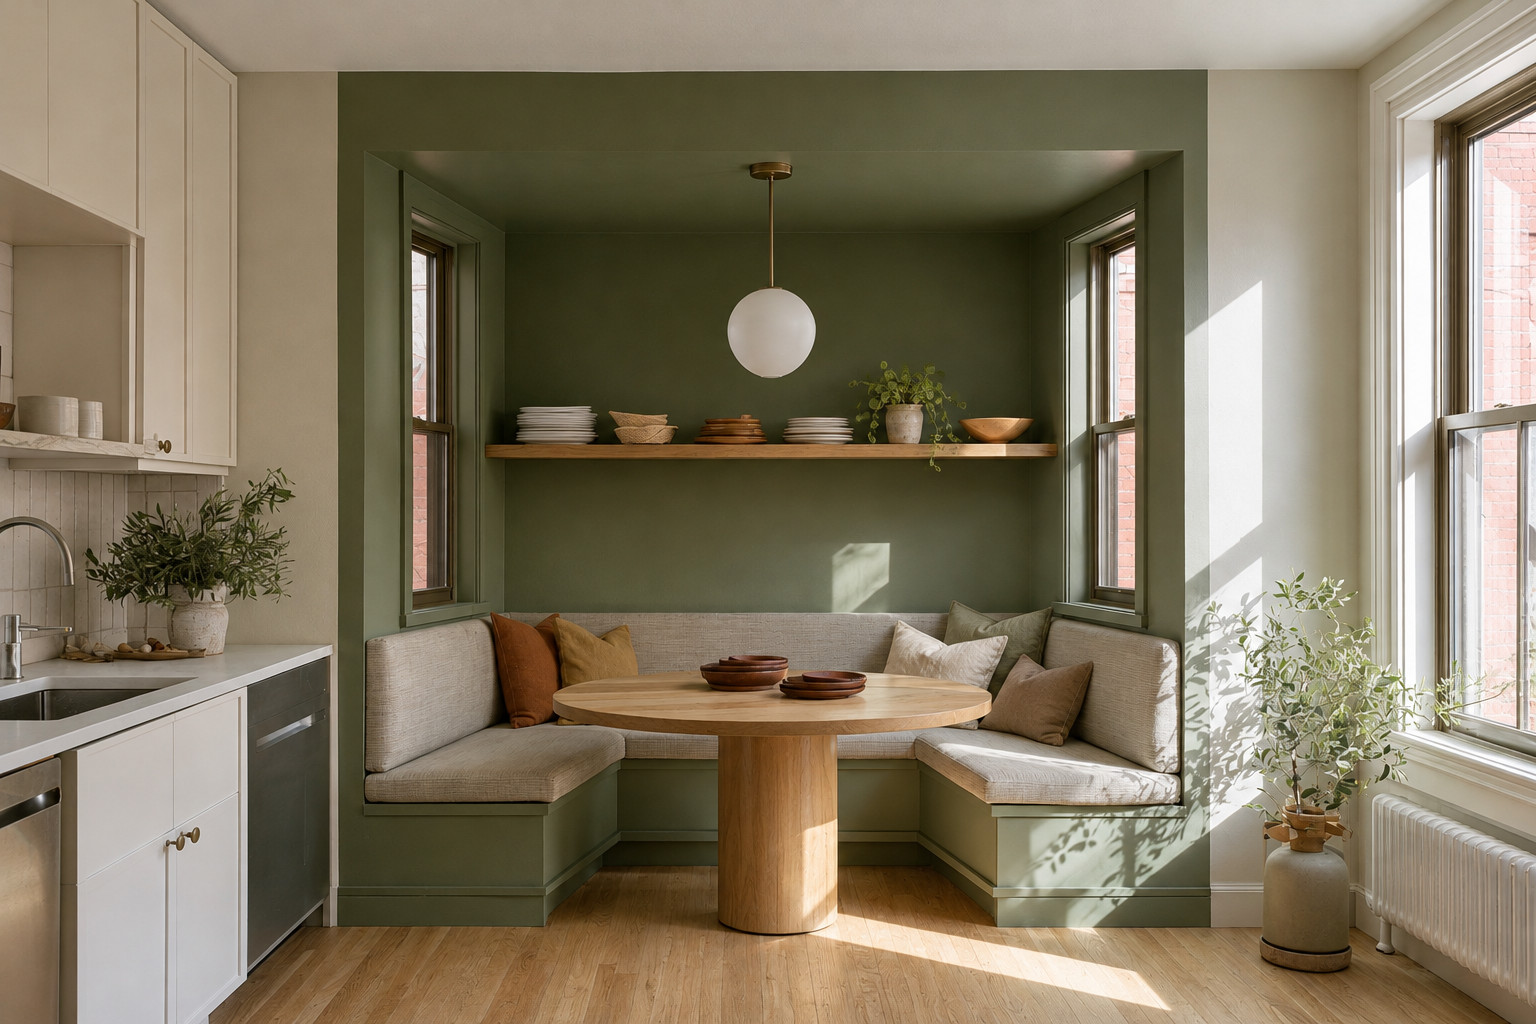
In an open-plan space, you do not have to paint everything. Drench only the dining corner: the two walls around a banquette, the shelf above it and the ceiling directly over the table. The color marks the dining zone the way a rug marks a living area. Stop the paint at a natural edge, such as a corner, a beam or the end of a shelf, so the line looks deliberate.
7. A light color drench for a small, dark room
 Save
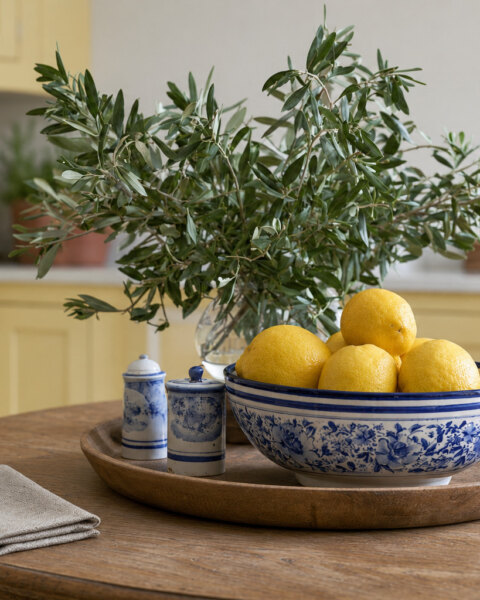
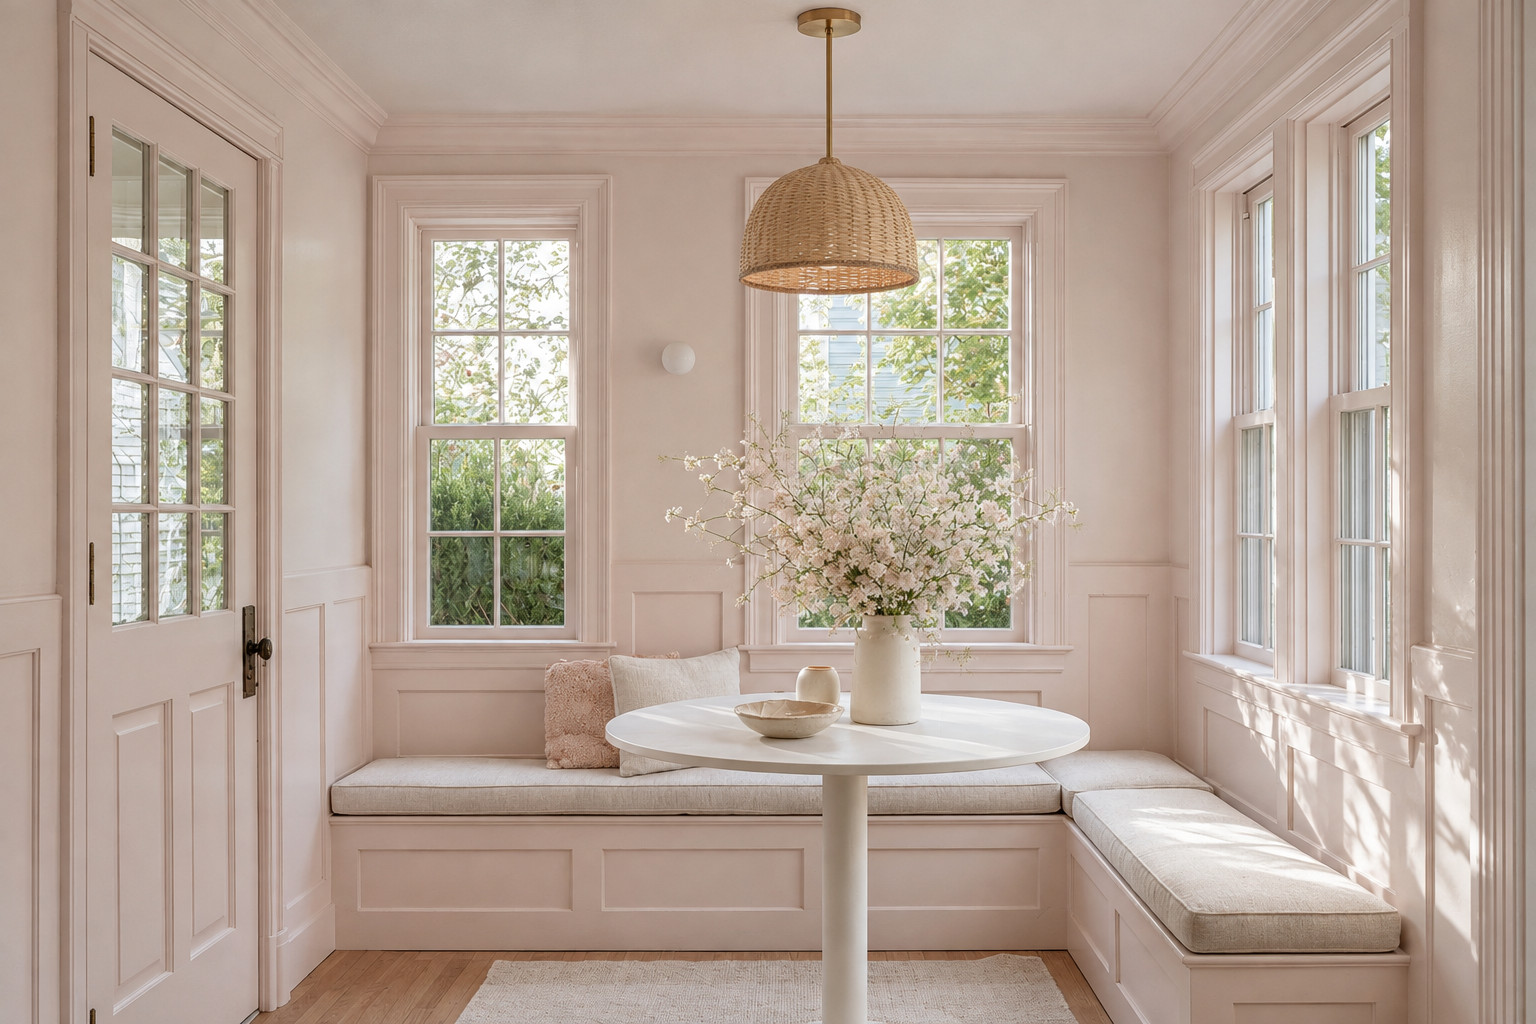
Color drenching does not have to be dark. A soft blush, pale butter yellow or warm putty on every surface makes a small dining room feel bigger, because there are no white edges stopping the eye. This is a good option for a room with little daylight, where a very dark color would feel heavy during the day.
8. Balance the color with wood, brass and white
 Save
A fully drenched room needs a few contrasting materials, or it can feel like a box. A wooden table, a brass or rattan pendant, white or natural linen and a few pieces of cream pottery give the color something to play against. Keep the table decor low and simple. Our guide to ideas for decorating a kitchen table has easy everyday arrangements.
How to color drench a dining room
A typical dining room takes a weekend: day one for prep and the ceiling, day two for walls, trim and doors.
What you’ll need
- Paint in flat (ceiling), matte or eggshell (walls) and satin or semi-gloss (trim and doors), all in the same color
- Primer for stains, patches or very glossy old trim
- A 9 in (23 cm) roller frame, 3/8 in nap covers and an extension pole
- A 2 to 2.5 in (5 to 6 cm) angled brush for edges and trim
- Painter’s tape, drop cloths, spackle, a putty knife and 120 to 220 grit sandpaper
- A sugar soap or mild degreaser solution and a sponge for cleaning walls and trim
Steps
- Paint large sample swatches, about 12 × 12 in (30 × 30 cm), on two different walls and look at them in the morning and at night under your dining room bulbs.
- Remove switch plates, cover the floor and furniture, fill holes with spackle and sand the patches smooth once dry.
- Clean walls and trim, then lightly sand glossy trim so the new paint grips. Prime stains and patches.
- Paint the ceiling first, cutting in along the edges with the brush and then rolling. Two coats.
- Paint the walls, again cutting in first and rolling while the edges are still wet. Two coats, with the drying time on the can between them.
- Paint the trim, window frames and doors last, with the satin or semi-gloss version. Thin coats prevent drips on edges.
- Let everything cure for a few days before hanging art or pushing furniture against the walls.
If your home was built before 1978, old paint on trim and windows may contain lead. Read the EPA guidance on lead-safe renovation before sanding.
How much paint you need
One gallon of paint covers roughly 350 to 400 sq ft (33 to 37 m²) per coat. For a 12 × 12 ft (3.7 × 3.7 m) dining room with an 8 ft (2.4 m) ceiling:
| Surface | Area | Two coats | Buy |
|---|---|---|---|
| Walls (minus a door and a window) | about 345 sq ft (32 m²) | about 690 sq ft | 2 gallons |
| Ceiling | 144 sq ft (13 m²) | 288 sq ft | 1 gallon |
| Trim, door and window frame | small | 1 quart |
Deep colors sometimes need a third coat, so check the coverage after the second coat before buying more.
Lighting a drenched dining room
Dark paint absorbs light, so plan the lighting with the color. Use warm 2700K bulbs, put the pendant on a dimmer and add a second source such as a wall sconce or a lamp on a sideboard. Under cool white bulbs, burgundy can look brown and navy can look gray.
Color drench mistakes
- Choosing the color from a small chip. Deep colors look much darker on four walls.
- Using flat paint on trim and doors, which marks easily and is hard to clean.
- Leaving the ceiling bright white in a dark room, which makes it look like a lid.
- Cool white bulbs that turn warm colors dull.
- No contrast at all: no wood, metal or white to break up the color.
Frequently asked questions
What is color drenching?
Painting walls, trim, doors and often the ceiling in the same color, or in close shades of one color, so the whole room is wrapped in it.
Do you paint the ceiling when color drenching?
Usually yes, in the same color or one shade lighter. Leaving it white breaks the effect, especially with dark walls.
What finish should trim be in a color drenched room?
Satin or semi-gloss, in the same color as the walls. The slight shine adds depth and makes trim easy to clean.
Does color drenching make a room look smaller?
Often the opposite. With no white edges, the corners blur and the room can feel larger, especially with a light or mid-tone color.
What colors are best for a color drench dining room?
Burgundy, olive green, terracotta and navy are the most popular. Soft blush or butter yellow work for a light drench.
Live with a sample first
Paint two large swatches and leave them up for a week of dinners. If you still like the color by candlelight on a Thursday, buy the gallons. For more ideas, see our guide to dining room ideas for small spaces or browse all kitchen and dining ideas.